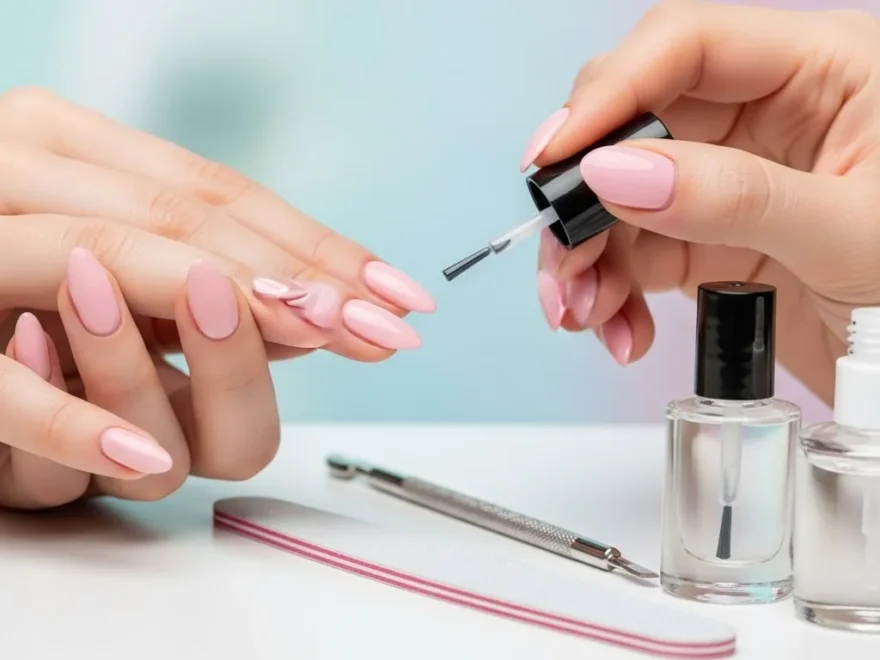
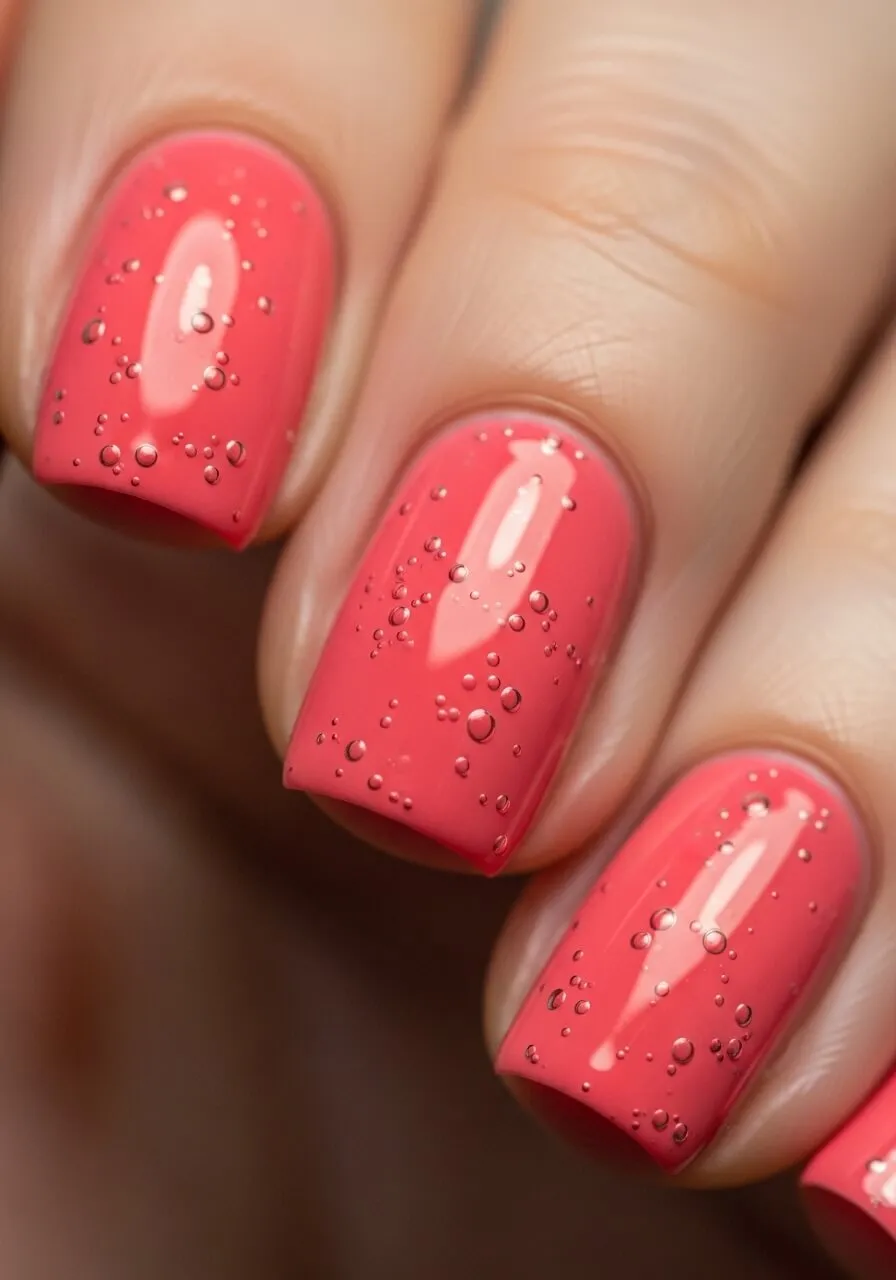
Nail polish bubbles can ruin an otherwise perfect manicure. You apply a smooth coat, everything looks fine at first, and then suddenly tiny air bubbles appear and mess up the finish. The good news is that this problem is very common and completely fixable once you understand the cause and the right technique. If you’re exploring nail polish bubbling causes, identifying what triggers these air pockets is the first step to achieving a smooth, flawless, and long-lasting manicure.
Let’s go step by step and learn how to fix it properly and avoid it in the future.
Why Nail Polish Bubbles Happen
Before fixing the problem, it’s important to know why it happens in the first place.
Common reasons include:
- Shaking the nail polish bottle too much
- Applying thick coats instead of thin layers
- Painting nails in a hot or humid environment
- Old or expired nail polish
- Not letting layers dry properly
Once you know the cause, prevention becomes much easier.
Fixing Nail Polish Bubbles Immediately
If bubbles appear right after painting, don’t panic. You can still fix it.
Here’s what to do:
- Gently smooth the surface using a clean brush
- Lightly reapply a thin layer of polish over the bubbles
- Let it settle naturally without touching it
If the bubbles are too visible, it’s better to remove the polish and start fresh rather than layering too much on top.
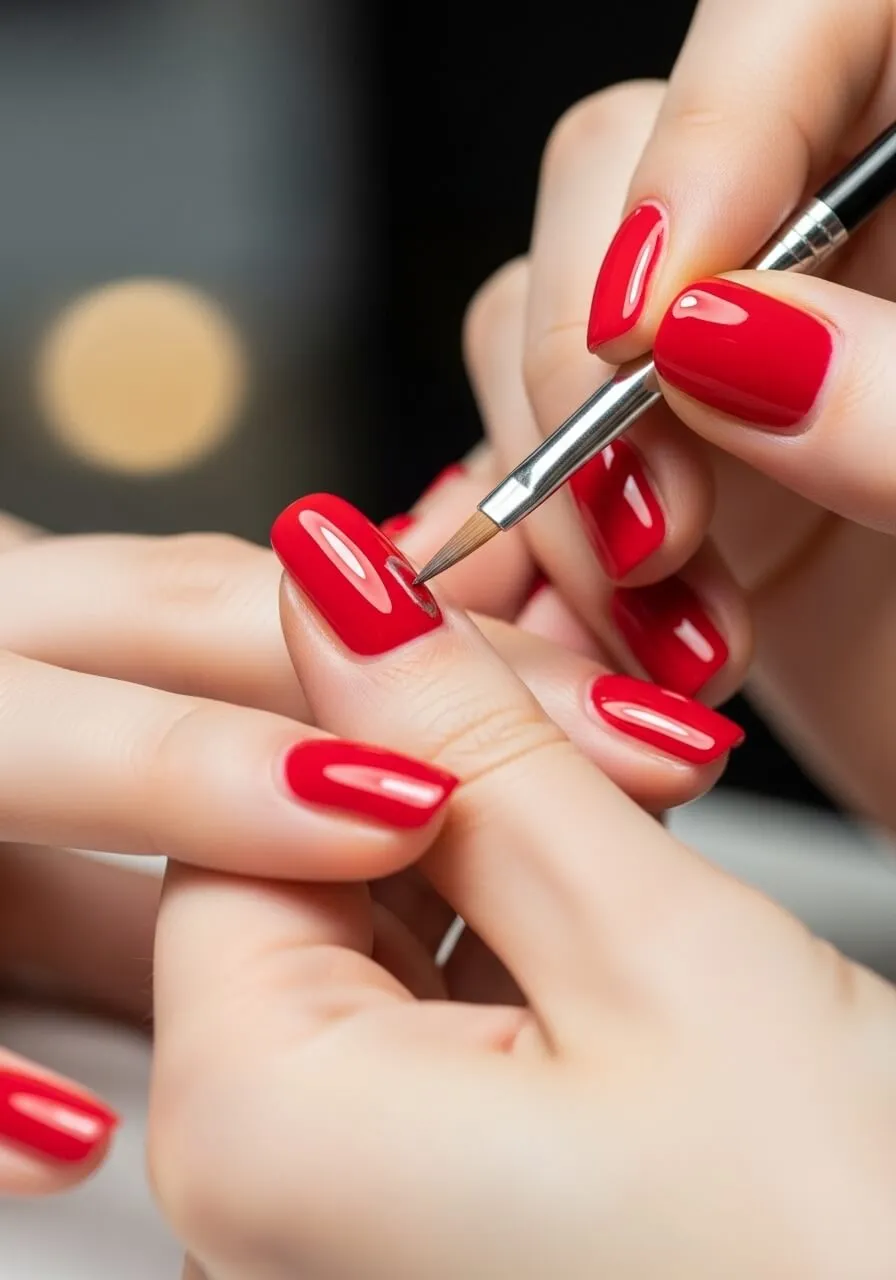
Use Thin Layers Instead of Thick Coats
One of the biggest mistakes is applying thick nail polish.
To avoid bubbles:
- Apply 2 to 3 thin coats instead of one thick layer
- Let each layer dry before applying the next
- Use smooth, even strokes
Thin layers dry evenly and reduce trapped air, which is the main cause of bubbling.
Don’t Shake the Bottle
Shaking the bottle creates air inside the polish, which leads to bubbles.
Instead:
- Roll the bottle gently between your hands
- Let it sit for a few minutes before using
This small change makes a big difference in the final finish.
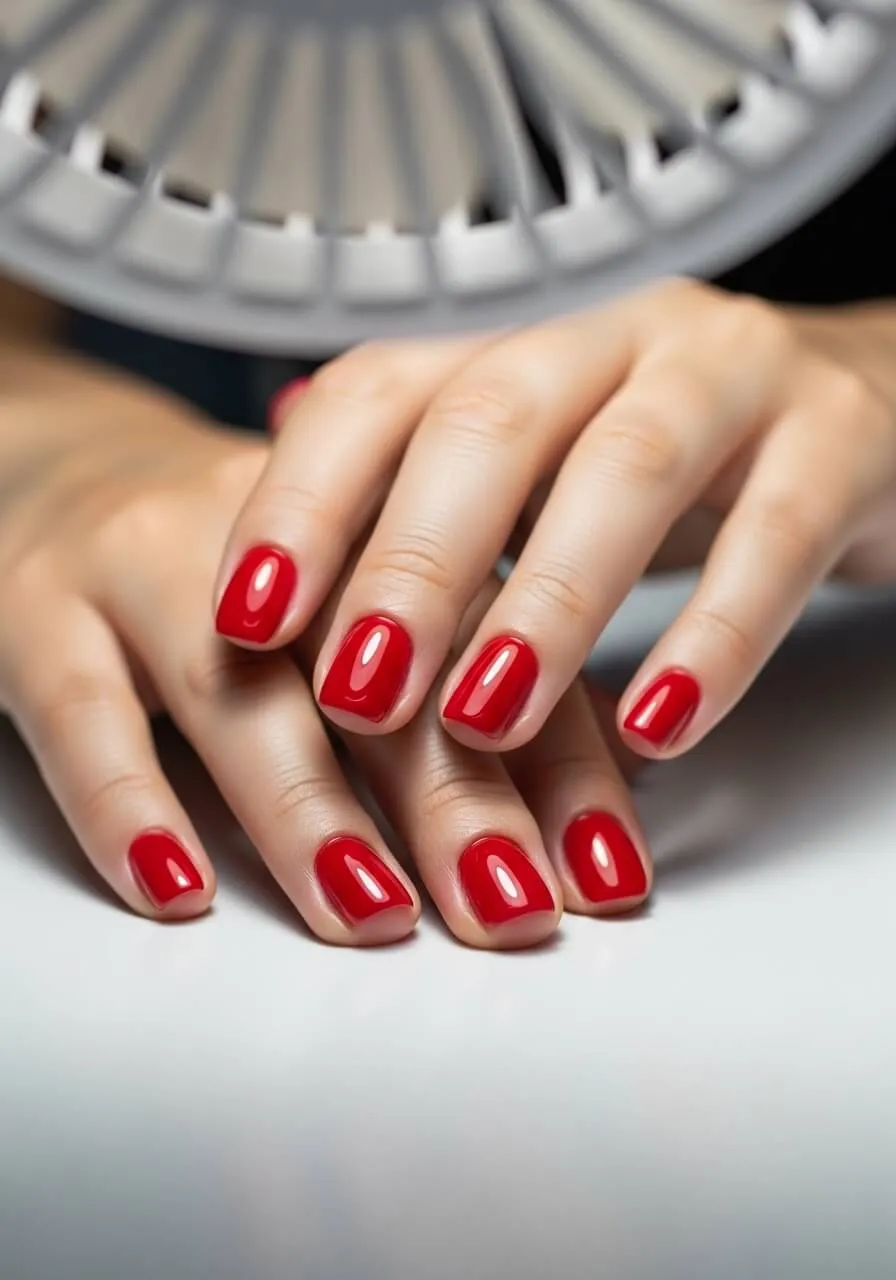
Avoid Hot or Humid Environments
Temperature plays a big role in nail polish quality.
Best conditions:
- Cool, dry room
- Good air circulation
- Avoid direct sunlight or bathroom steam
Humidity causes polish to trap moisture, which leads to bubbling.
Use Fresh Nail Polish
Old or thick nail polish is more likely to bubble.
Check for:
- Thick or stringy texture
- Separation of liquid inside the bottle
- Difficult application
If your polish is old, adding a few drops of nail thinner can help restore consistency.
Let Each Layer Dry Properly
Rushing the process is another common mistake.
Follow this simple rule:
- Wait at least 2 to 3 minutes between coats
- Avoid touching or applying pressure while drying
- Keep hands steady and relaxed
Patience is key for a smooth finish.
Apply a Good Base and Top Coat
Base and top coats help create a smooth foundation and seal the polish properly.
Benefits:
- Base coat prevents uneven texture
- Top coat smooths out minor imperfections
- Both improve shine and durability
Always include them in your manicure routine.
Final Thoughts
Nail polish bubbles are frustrating, but they are completely avoidable with the right technique. The key is simple: don’t rush, avoid thick layers, and keep your polish in good condition.
Once you follow these steps, your manicure will look smoother, cleaner, and more professional every time.
Save this guide for your next nail session and enjoy bubble-free nails like a pro.