Let’s go step by step so you can prep your nails like a pro at home.
Start with Clean and Bare Nails
Before anything else, make sure your nails are completely clean.Remove any old polish or gel using a proper remover. Wash your hands with soap and dry them well. Oils, dirt, or leftover product can prevent gel polish from sticking properly.Clean nails are the foundation of a long lasting manicure.
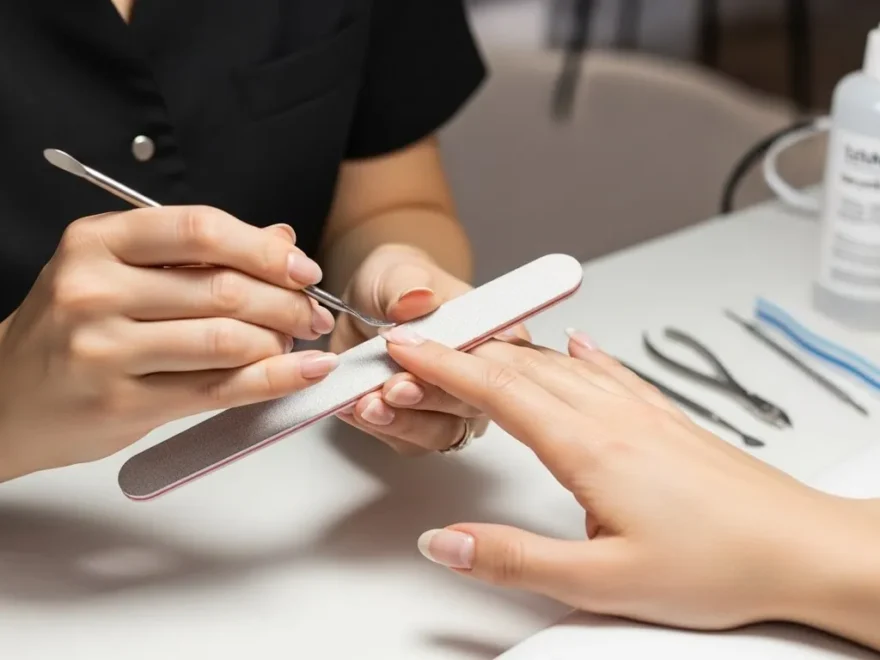
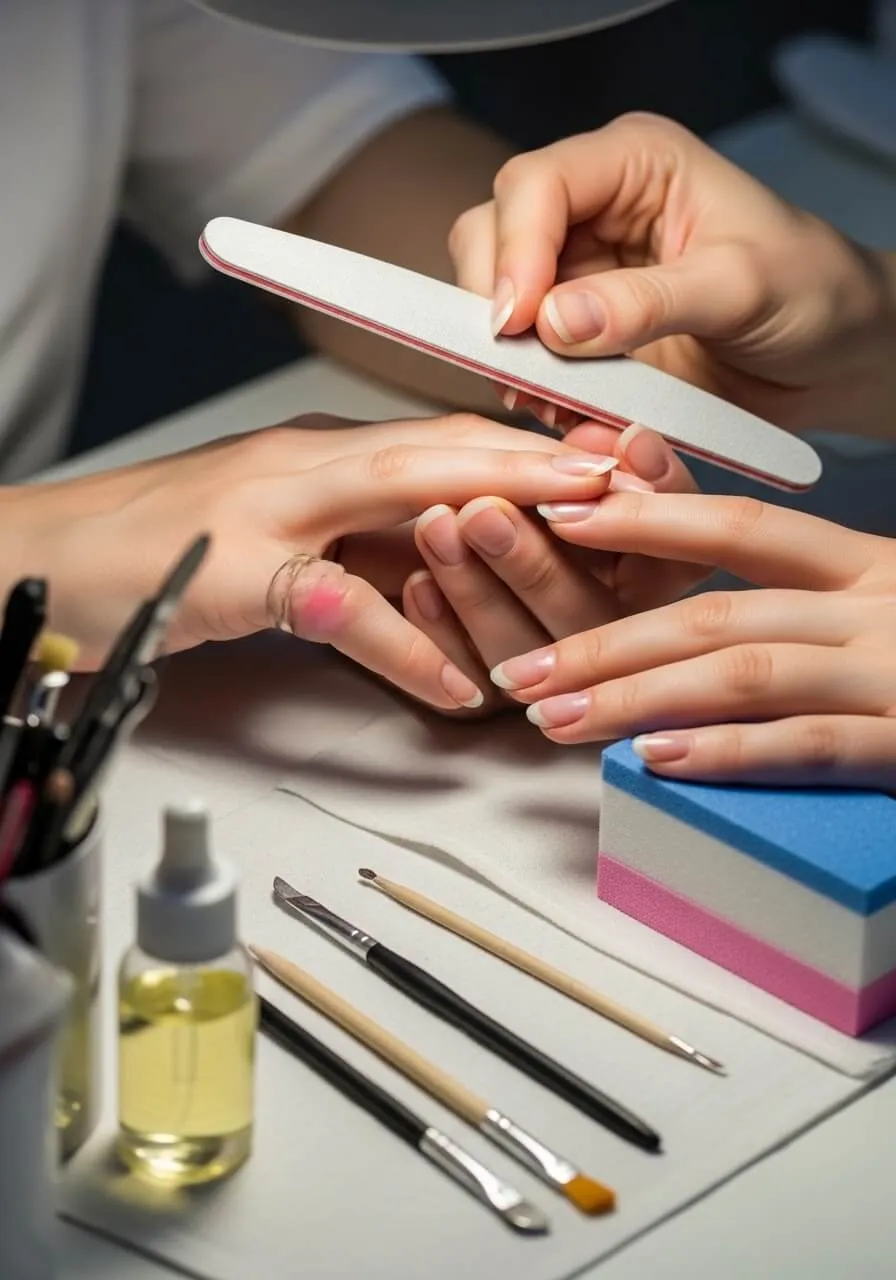
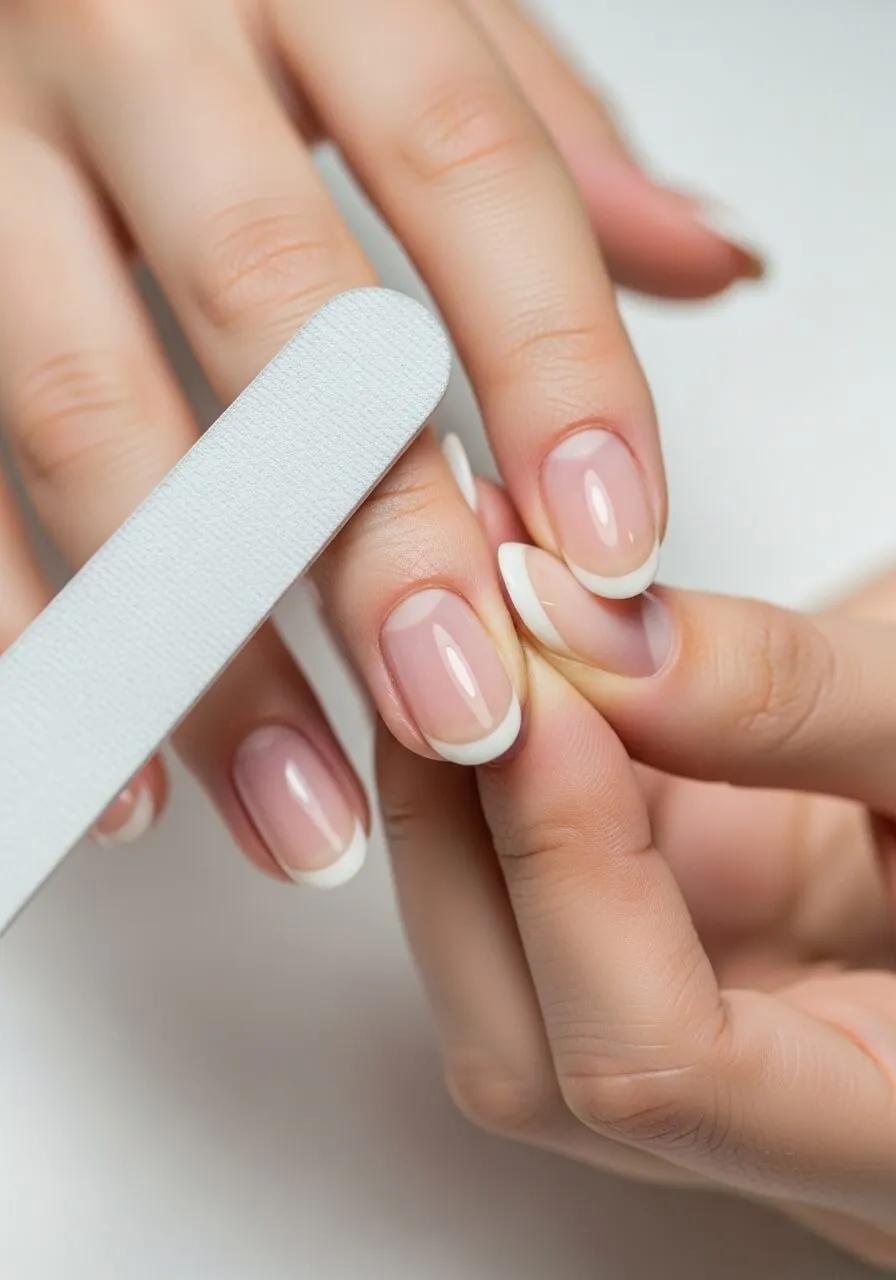
Shape Your Nails Neatly
Now file your nails into your desired shape.
Common shapes include:
• Square
• Oval
• Almond
• Round
Use a gentle nail file and move in one direction instead of back and forth. This prevents splitting and keeps the edges smooth.
Push Back Cuticles Gently
Cuticles can affect how smoothly gel polish applies near the nail bed.Soften them first by soaking your fingers in warm water for a few minutes. Then gently push them back using a cuticle pusher.Avoid cutting them too aggressively, as this can cause irritation or infection.
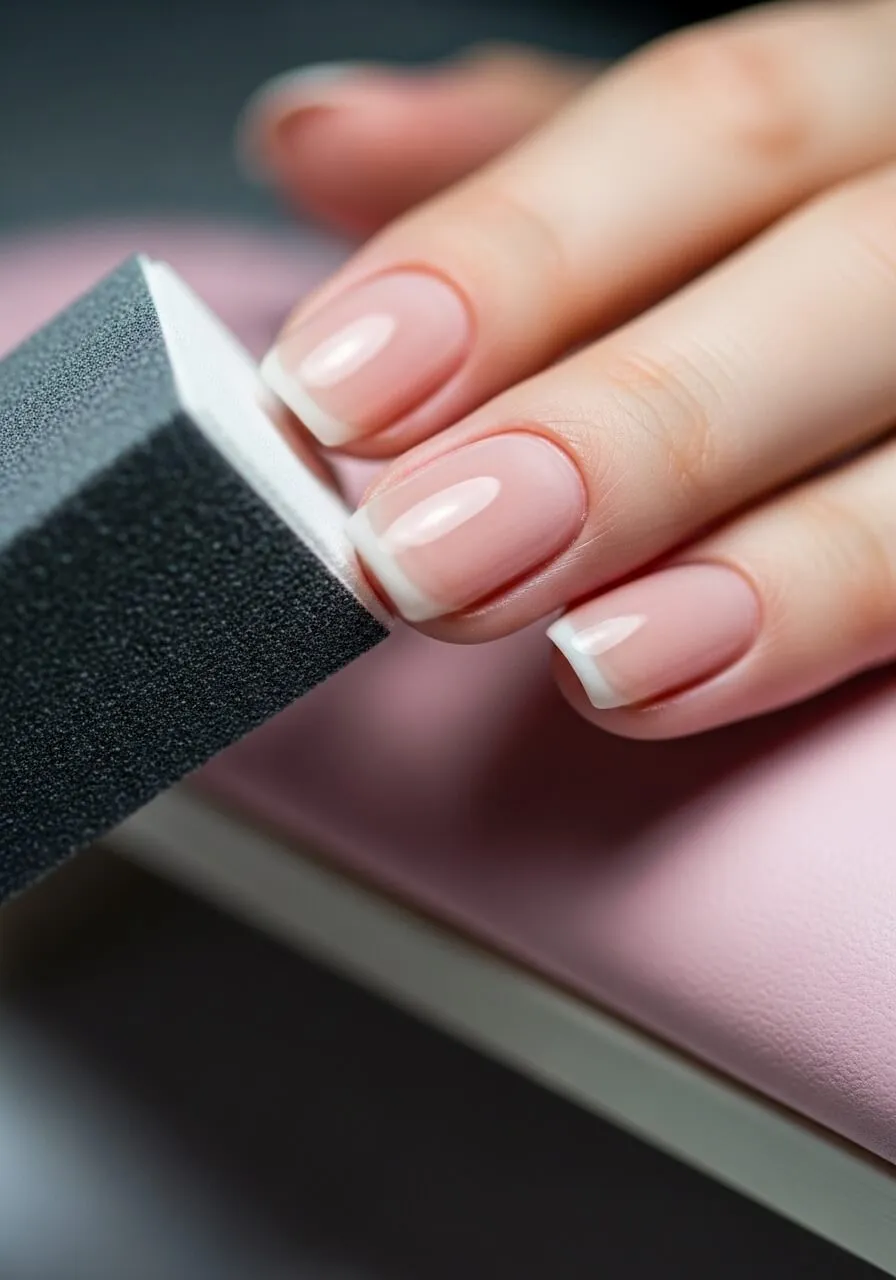
Buff the Nail Surface Lightly
Buffing helps the gel polish stick better.
Use a soft buffer to gently remove the shiny layer from your nails. You are not trying to thin the nail, just create a slightly rough surface for better adhesion.
Make sure to buff evenly across all nails.
Remove Dust and Oils
After buffing, your nails will have fine dust and natural oils that need to be cleaned.
Wipe your nails with:
• A lint free wipe
• Nail cleanser or rubbing alcohol
This step is very important because any oil left behind can cause the gel to lift later.
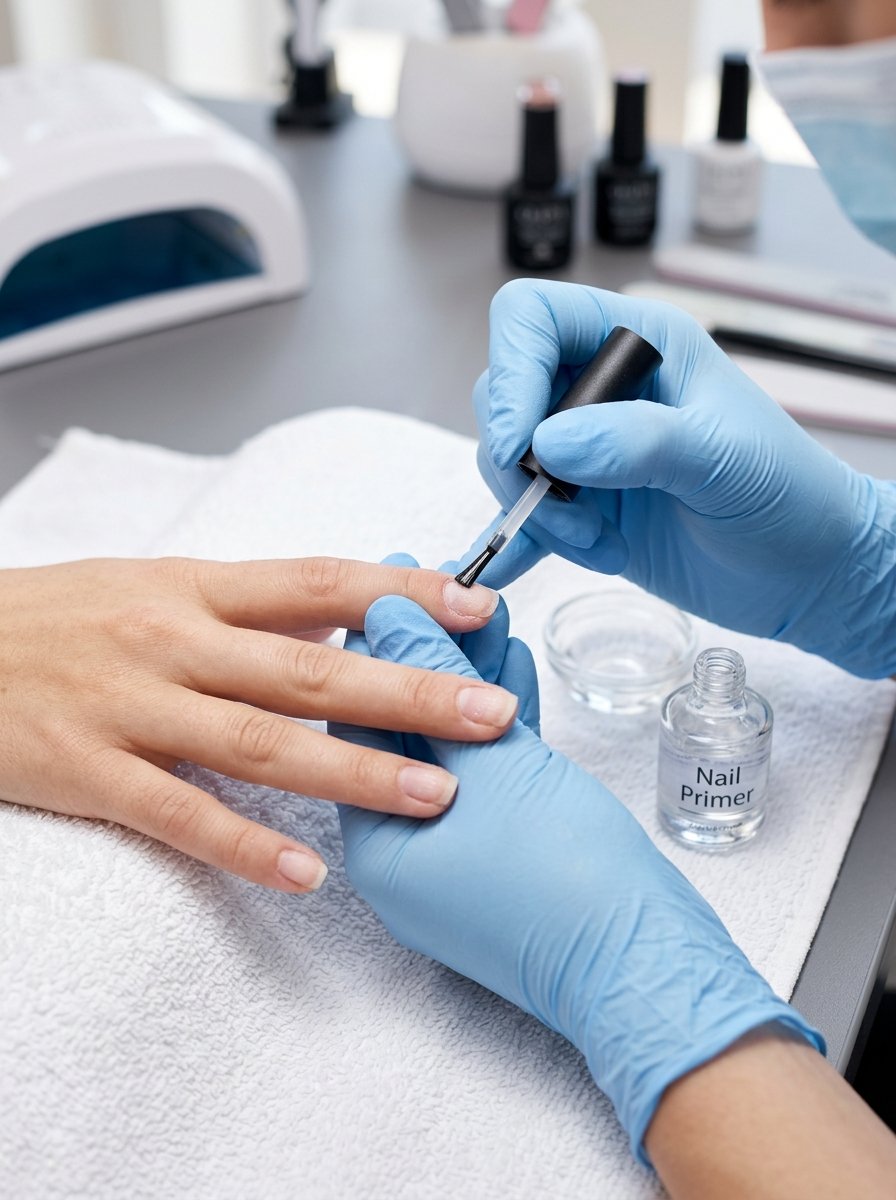
Apply a Dehydrator or Primer
A nail dehydrator or primer helps remove moisture and improves adhesion.Apply a thin layer on each nail and let it air dry. This step ensures the gel sticks properly and lasts longer without peeling.Do not touch your nails after this step to avoid transferring oils back onto them.
Apply Base Coat Carefully
Now your nails are fully prepped and ready for gel polish.Apply a thin base coat evenly across each nail. Make sure to seal the edges by lightly brushing the tip of the nail.Cure under a UV or LED lamp according to the product instructions.
Final Thoughts
Proper nail prep is the secret behind a perfect gel manicure. When you clean, shape, buff, and remove oils correctly, your gel polish will last longer and look smoother.
Skipping prep may save a few minutes, but it always leads to early chipping and lifting.
Save this guide for later and follow these steps every time you do gel nails for a professional finish at home.