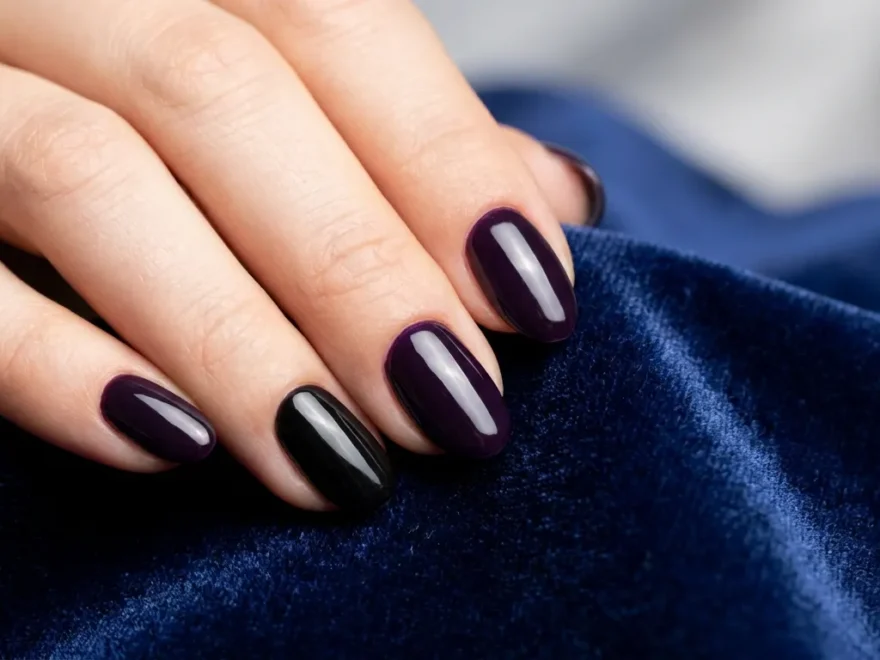
Dark, moody, and full of personality, purple and black nail ideas have become a go-to choice for anyone who wants a manicure that stands out without trying too hard. This color combo works for everyday wear, holidays, or a night out, and it pairs well with almost any skin tone. Whether you’re into deep eggplant shades, glossy black tips, or sparkly accents, there’s a style here that fits your budget and skill level. Below you’ll find 22 nail ideas that mix purple and black in fun, wearable ways. Each one comes with simple tips so you can try it at home without spending a fortune on salon visits. If you’re also exploring Purple and Gold Nail Ideas, luxurious metallic accents, rich plum shades, glitter details, and elegant foil designs create a timeless manicure that feels sophisticated, festive, and effortlessly glamorous for any occasion.
1. Deep Plum Ombre Fade
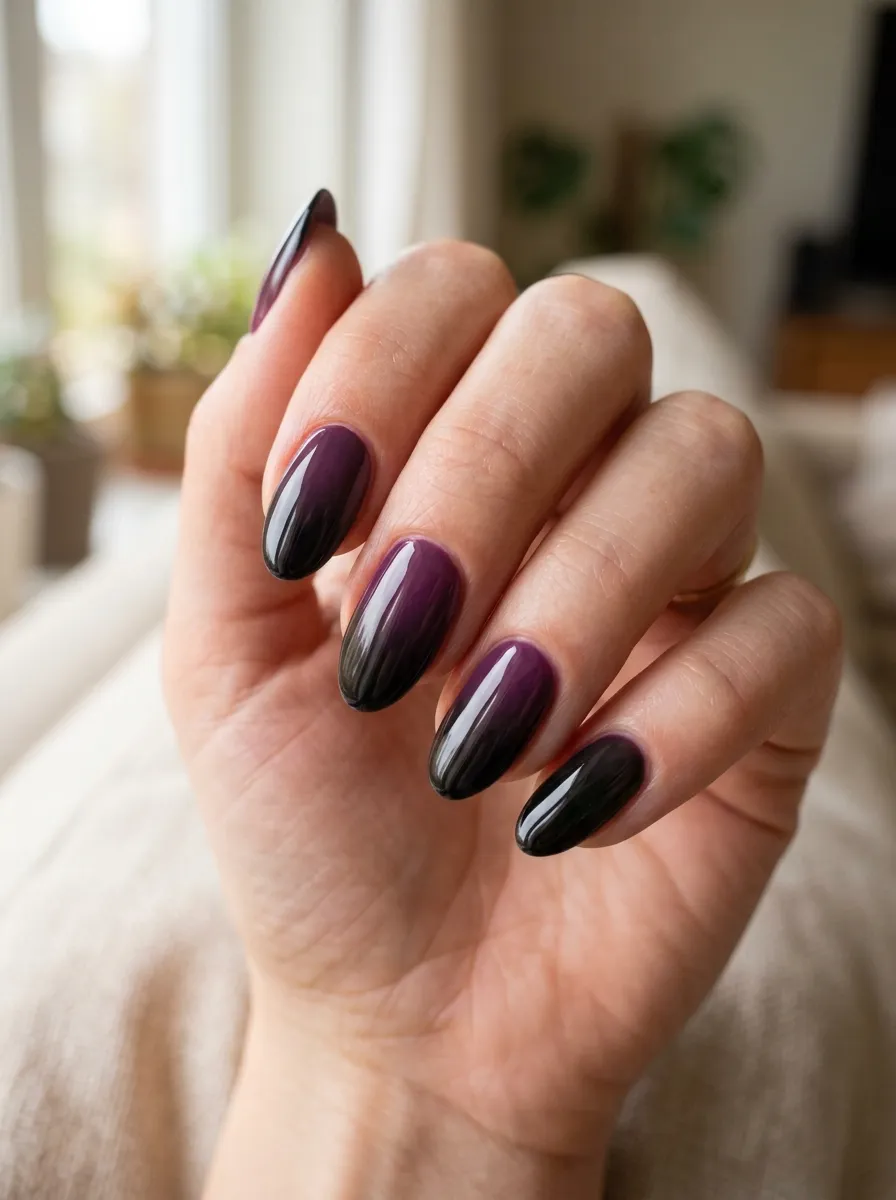
An ombre fade blends two shades into one smooth look. Start with a plum base coat on all ten nails. Let it dry fully. Grab a makeup sponge and dab black polish only on the tips. Press the sponge onto your nail a few times to blend the edges. Wipe cleanup around your skin with a small brush dipped in remover. This look works well for short or long nails and holds up for about a week with a good topcoat. If you don’t own a sponge, a cosmetic wedge from the drugstore works just as well. Budget tip: use two polishes you already own instead of buying a new set. Practice on paper first if you’re nervous about blending. The gradient hides small mistakes better than a solid color, which makes it a forgiving choice for beginners. Add a glossy topcoat to seal everything in and give the fade extra depth.
2. Galaxy Swirl Accent Nail
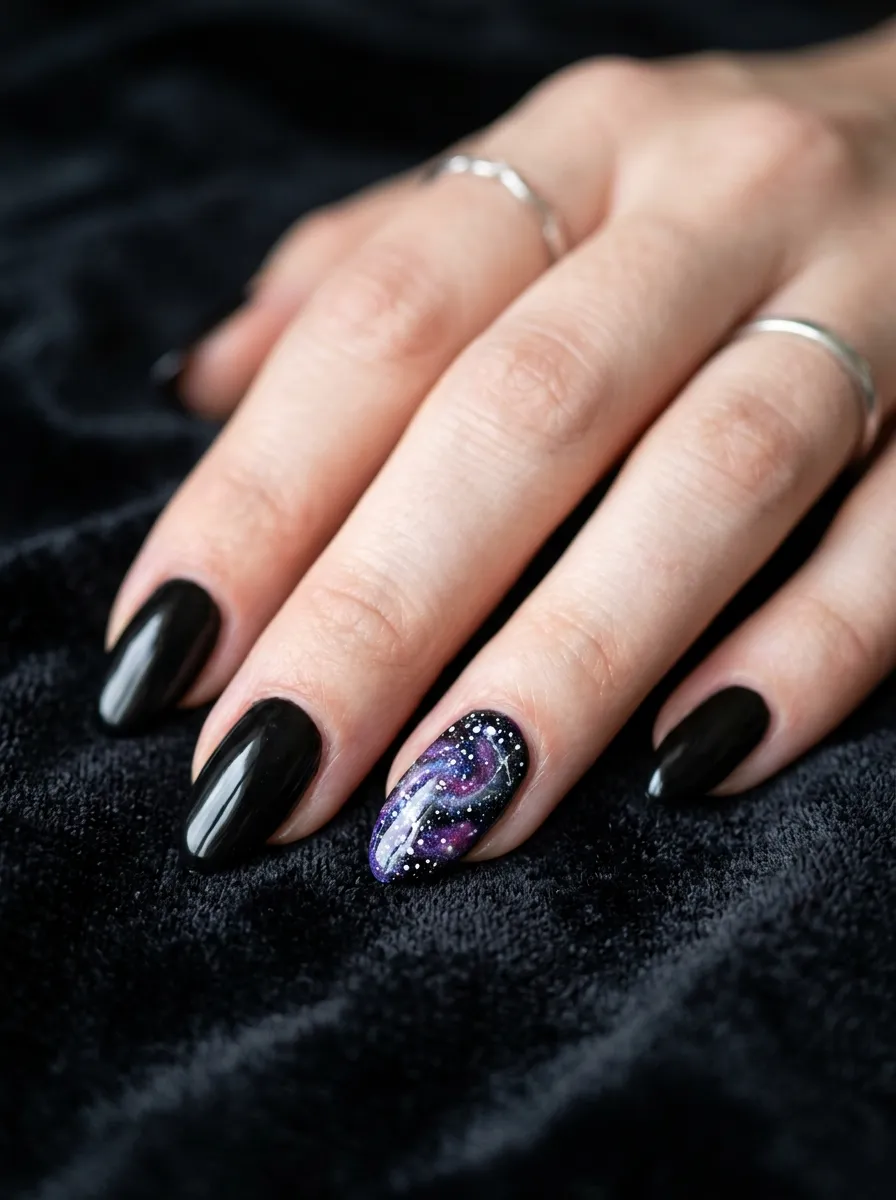
Pick one nail per hand to be your galaxy accent. Paint it black first as your base. Once dry, sponge on small patches of purple in random spots. Use a thin brush or a toothpick dipped in white polish to add tiny star dots. Add a few silver dots too if you have that shade. The rest of your nails stay a plain, glossy black for contrast. This style feels fancy but only needs three or four polish colors you likely already have. A cheap dotting tool from a beauty supply store makes the stars easier to control. Keep the swirls loose and uneven since galaxies don’t follow straight lines. Seal with a shiny topcoat to make the stars pop under light.
3. Matte Black With Purple Chrome Tips
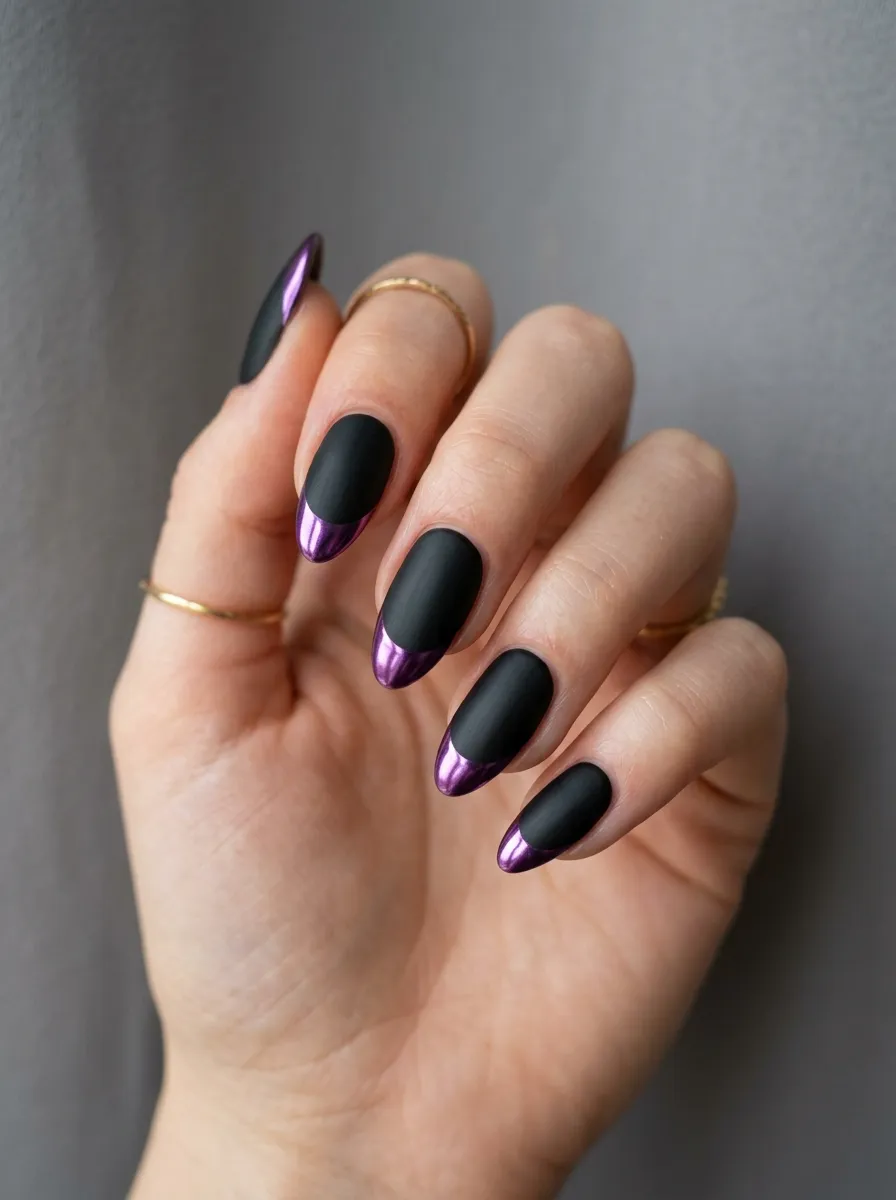
Mixing matte and shiny textures gives nails extra dimension. Paint your nails black using a matte topcoat to finish. Once fully dry, use striping tape to mark off the tip area. Apply a purple chrome polish or a purple polish topped with chrome powder just on the tip. Peel off the tape while the polish is still a little tacky for clean lines. Chrome powder kits are affordable online and last through several manicures. If you don’t have chrome, a metallic purple polish gives a similar shiny contrast. This design photographs well and looks more expensive than it costs. Let each layer dry completely before moving to the next step to avoid smudging the line between textures.
4. Black Cat Eye With Purple Shimmer
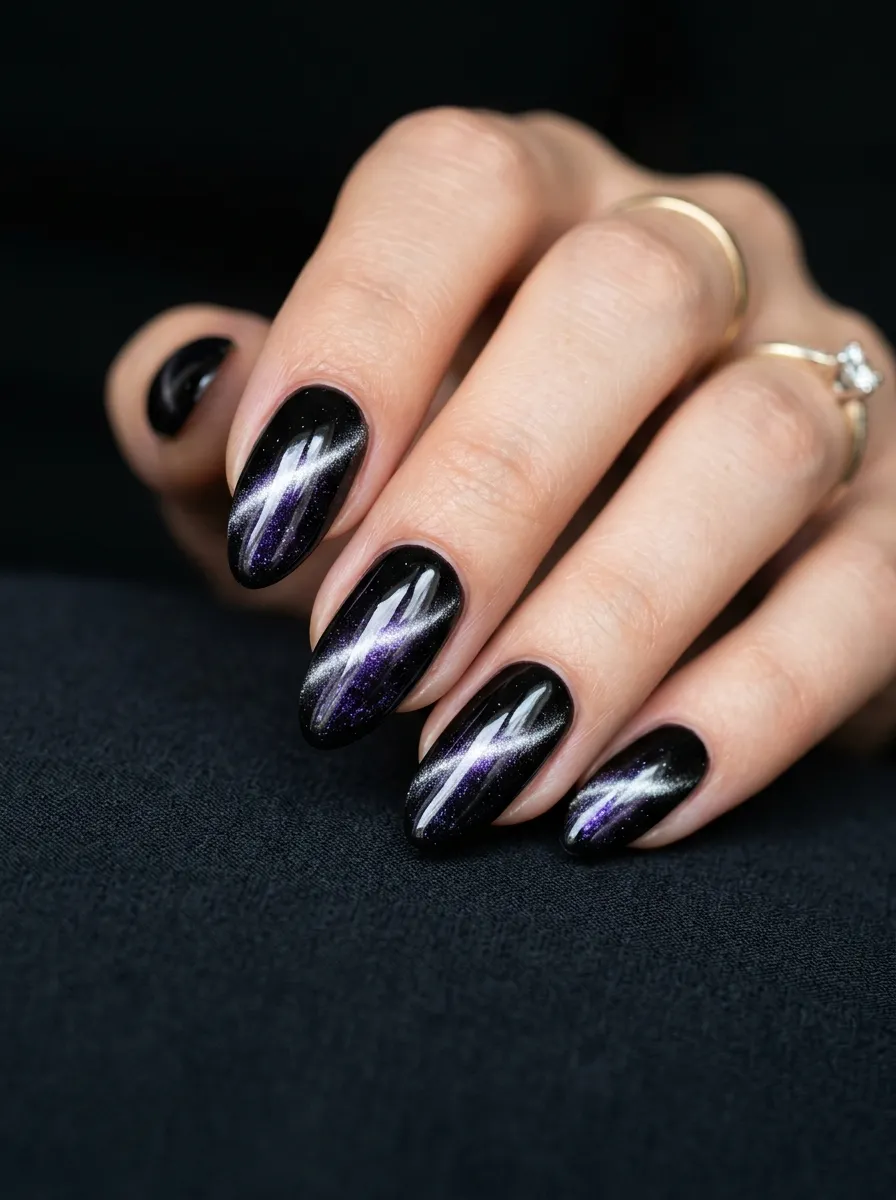
Cat eye polish uses tiny metal particles that move with a magnet to create a glowing line. Apply a black magnetic polish, then hold the magnet close to the nail without touching it for about ten seconds. You’ll see a bright streak appear. Add one thin coat of purple shimmer polish over the top once the black layer is dry. This adds a soft purple glow around the black streak. Magnetic polish sets are inexpensive and often come with a small magnet included. This look works great for fall or winter since the glow resembles moonlight. Practice the magnet angle on one nail before doing the rest, since the streak position depends on how you hold it.
5. Purple Marble With Black Veins
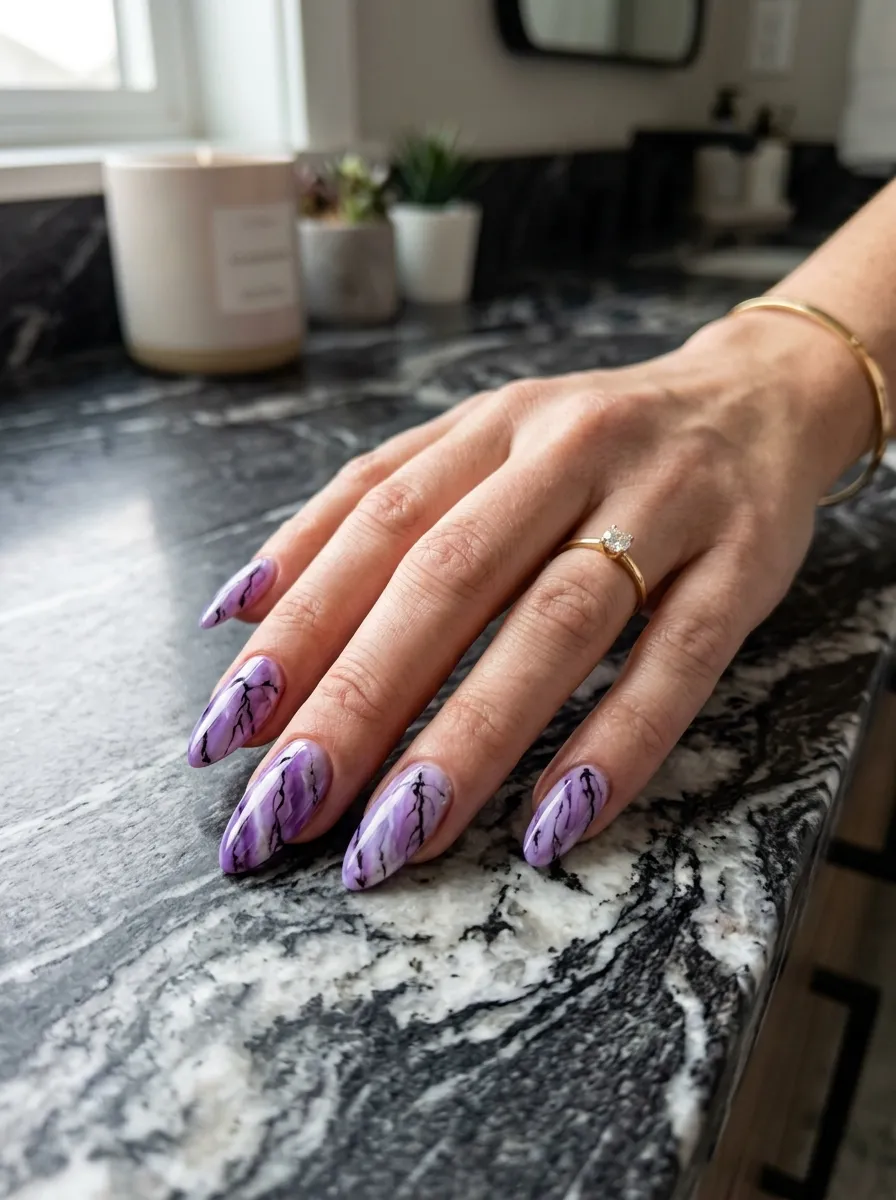
Marble nails mimic stone texture using a water marbling technique or a thin brush. Fill a cup with room temperature water. Drop purple and white polish onto the surface, then swirl gently with a toothpick. Dip your nail in and pull it out, then clean the extra polish off your skin. Once dry, use a fine brush to paint thin black lines across the design to look like veins. This technique takes practice, so try it on paper first. If water marbling feels too messy, painting a rough purple and white base by hand and adding black veins afterward gives a similar look with less cleanup.
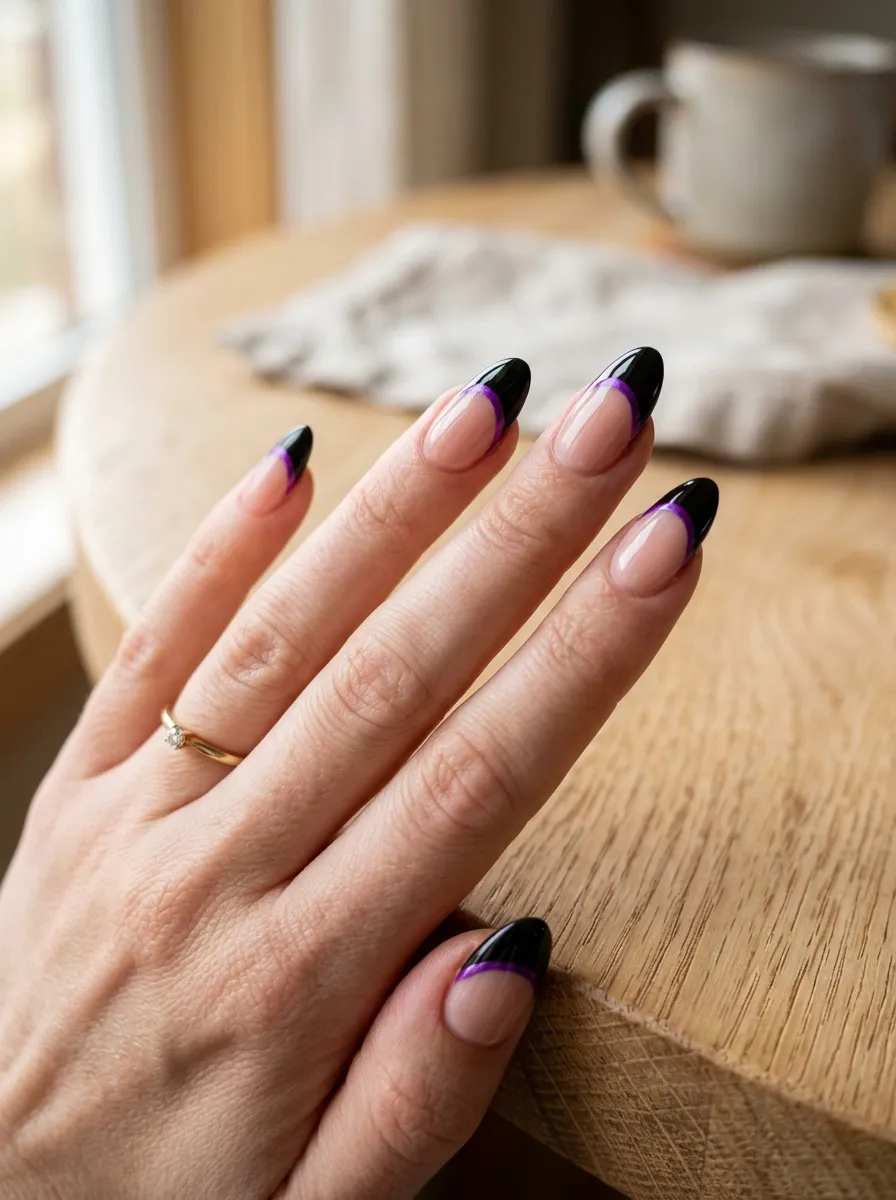
6. Glossy Black French Tip With Purple Line
This is a modern twist on the classic French manicure. Paint your nails a sheer nude or pale pink base. Once dry, use striping tape to outline where the black tip will start. Fill in the tip with black polish. Remove the tape carefully. Use a thin nail art brush to trace a purple line right along the edge of the black tip. This small detail changes the whole look from plain to eye-catching. Striping tape costs very little and works for several manicures if you store it properly. A steady hand matters more than expensive tools here, so take your time on the line.
7. Purple Glitter Ombre
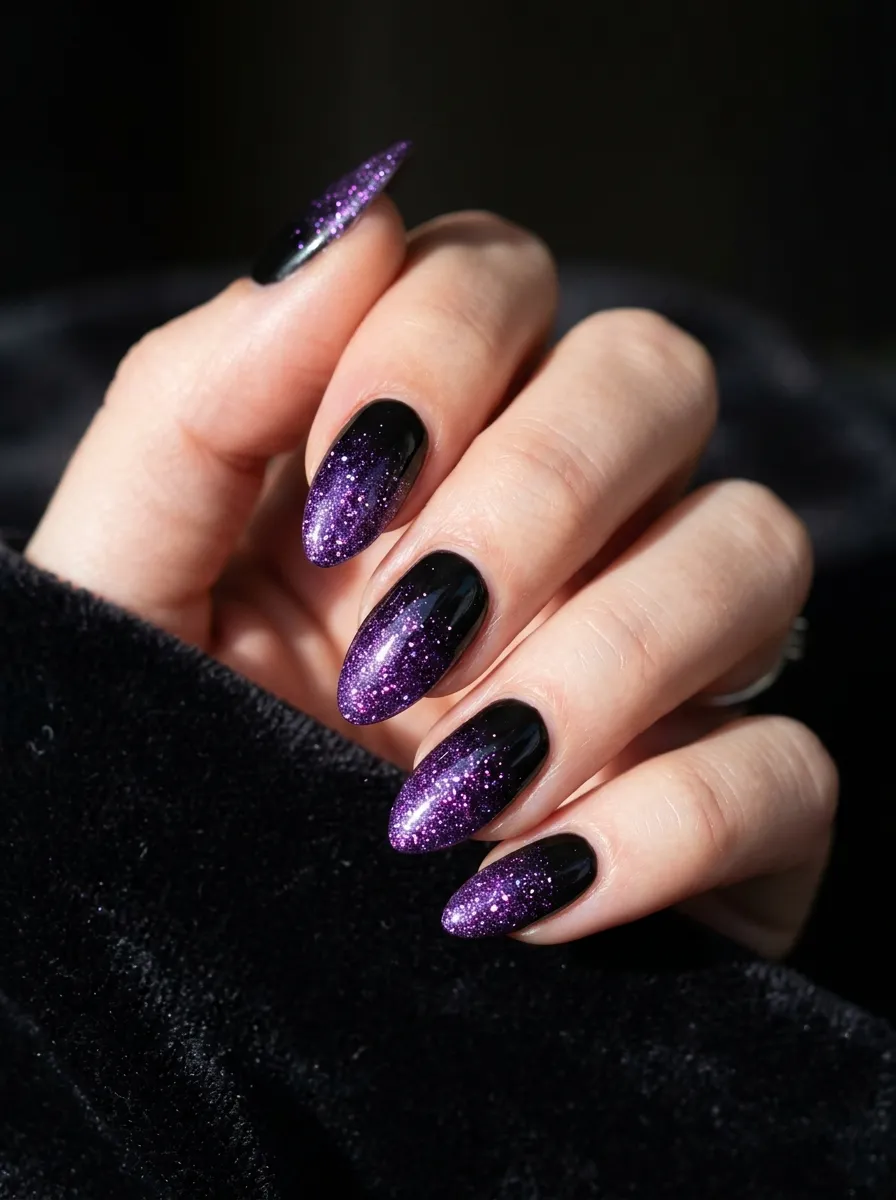
Glitter ombre adds sparkle without covering the whole nail. Start with black polish as your base color. Once dry, dip a makeup sponge into purple glitter polish and dab it only on the tips, building up layers until the sparkle looks full. Add a thick topcoat to smooth over the glitter texture so it doesn’t feel bumpy. Loose glitter polish tends to be cheaper than pressed glitter and works well for this technique. This design suits holiday parties or evening events since the sparkle catches light easily. Clean up any stray glitter around your cuticles with a small brush dipped in remover before it dries completely.
8. Deep Violet Solid With Glossy Finish
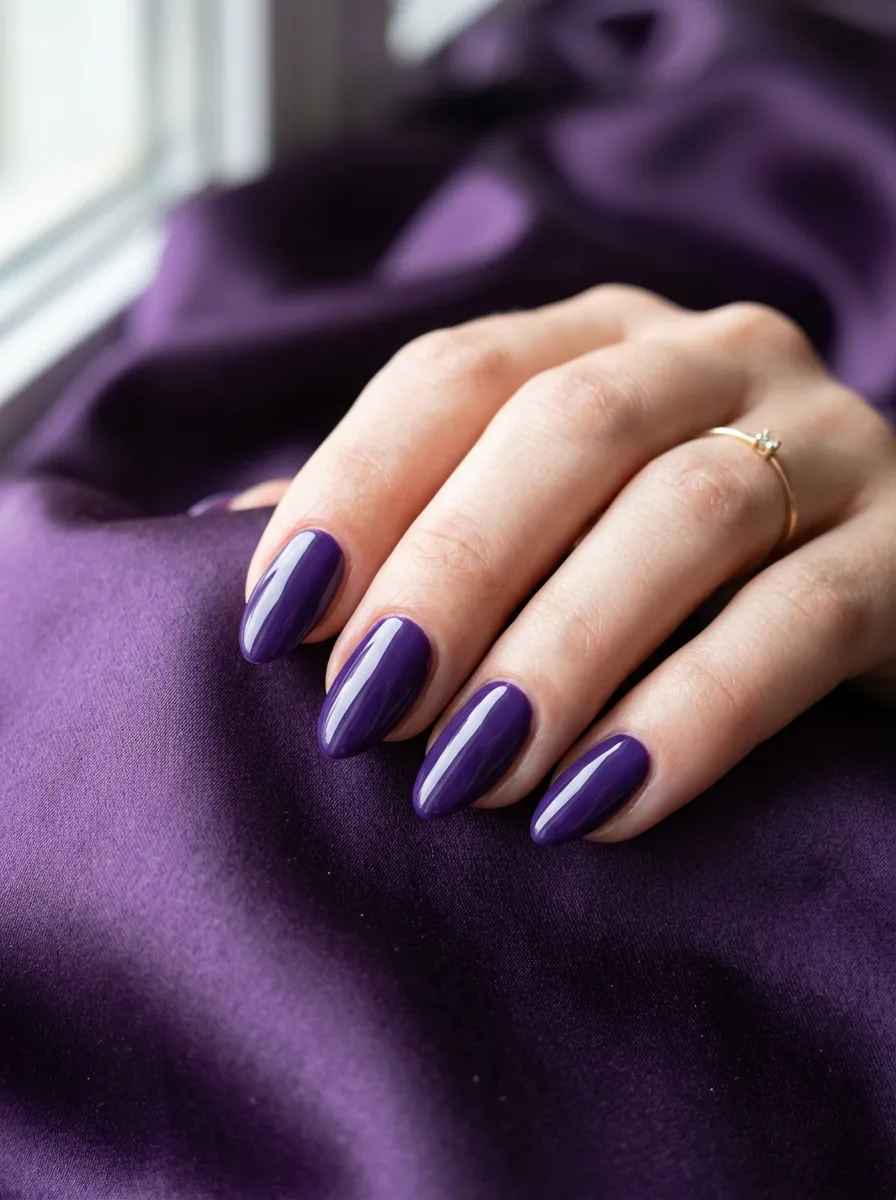
Sometimes simple is best. A solid deep violet polish looks rich and polished without extra steps. Apply two thin coats for even color, letting each dry before adding the next. Finish with a glossy topcoat for shine that lasts. This style works for any occasion, from office days to weekend outings. Pick a violet with slight red or blue undertones depending on your skin tone to find the most flattering shade. Budget drugstore polishes in this color range perform just as well as pricier brands if you apply thin coats. This is a great option if you’re short on time but still want a manicure that looks done.
9. Black Nails With Purple Foil Accents
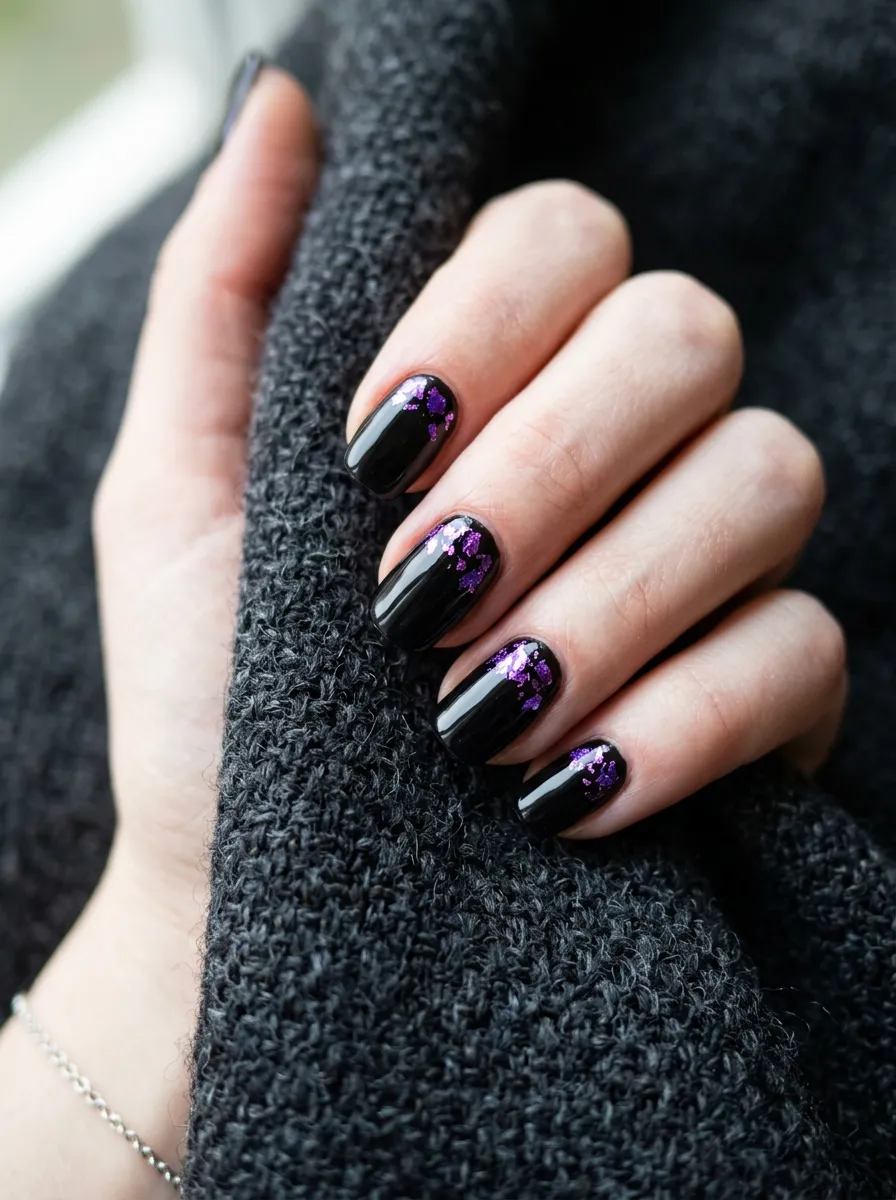
Foil accents add texture without needing painting skills. Paint your nails black and let them dry fully. Apply a small dot of nail glue or foil adhesive where you want the foil piece to sit, usually near the cuticle or in one corner. Press a small piece of purple foil onto the glue, then peel back the backing sheet. The foil transfers a crinkled metallic pattern onto your nail. Foil sheets are sold cheaply in packs and last for many manicures since you only need small pieces each time. Seal everything with a topcoat to keep the foil in place. This look adds a jewelry like effect to a plain black manicure.
10. Purple and Black Half Moon Design
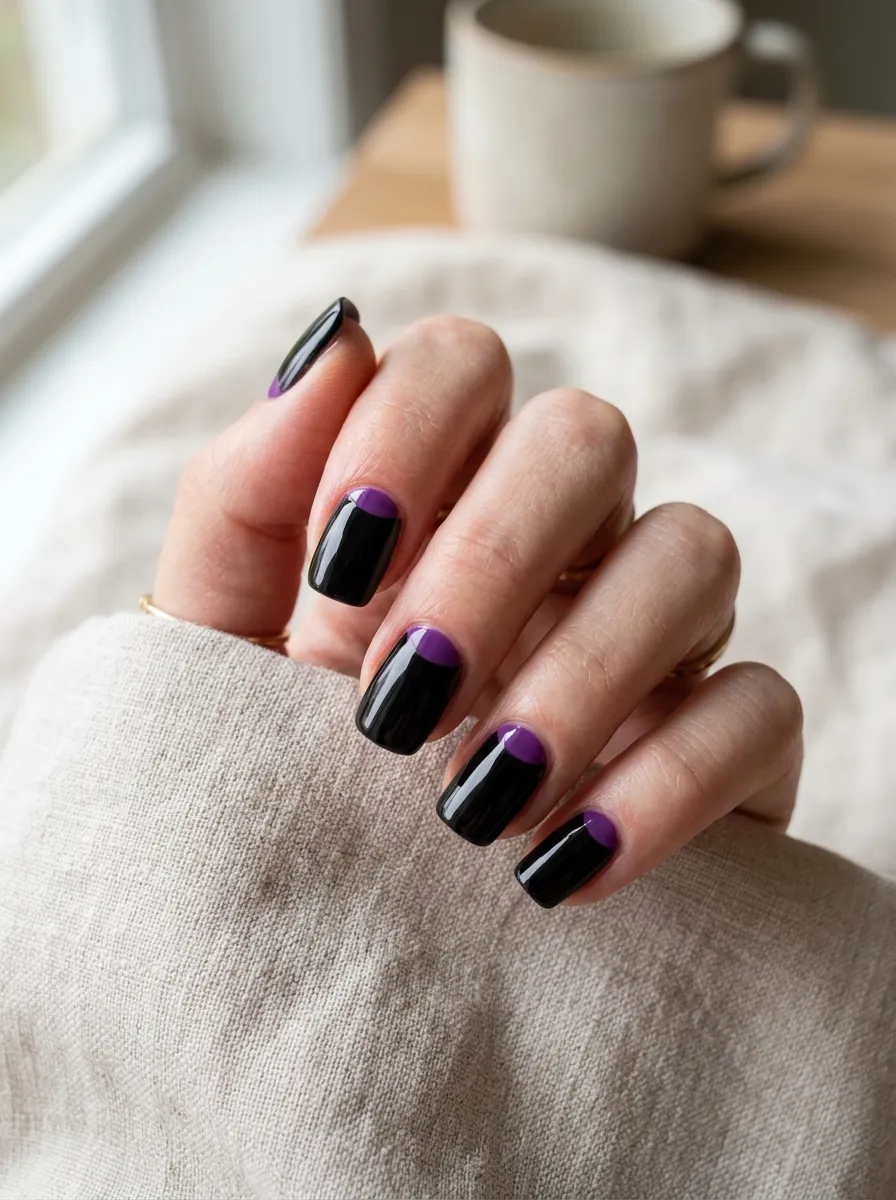
The half moon look plays with negative space near your cuticle. Use round stickers, sold cheaply in nail art kits, and place one at the base of each nail before painting. Paint the rest of the nail black. Once dry, peel off the sticker to reveal the natural nail or a purple base you painted first. If you don’t have stickers, a small round sponge or even a hole punch cut from tape works as a substitute. This design gives a clean, structured look that feels more detailed than it actually is to create. Seal with topcoat for a smooth finish that blends the two areas together.
11. Speckled Purple and Black Confetti Nails
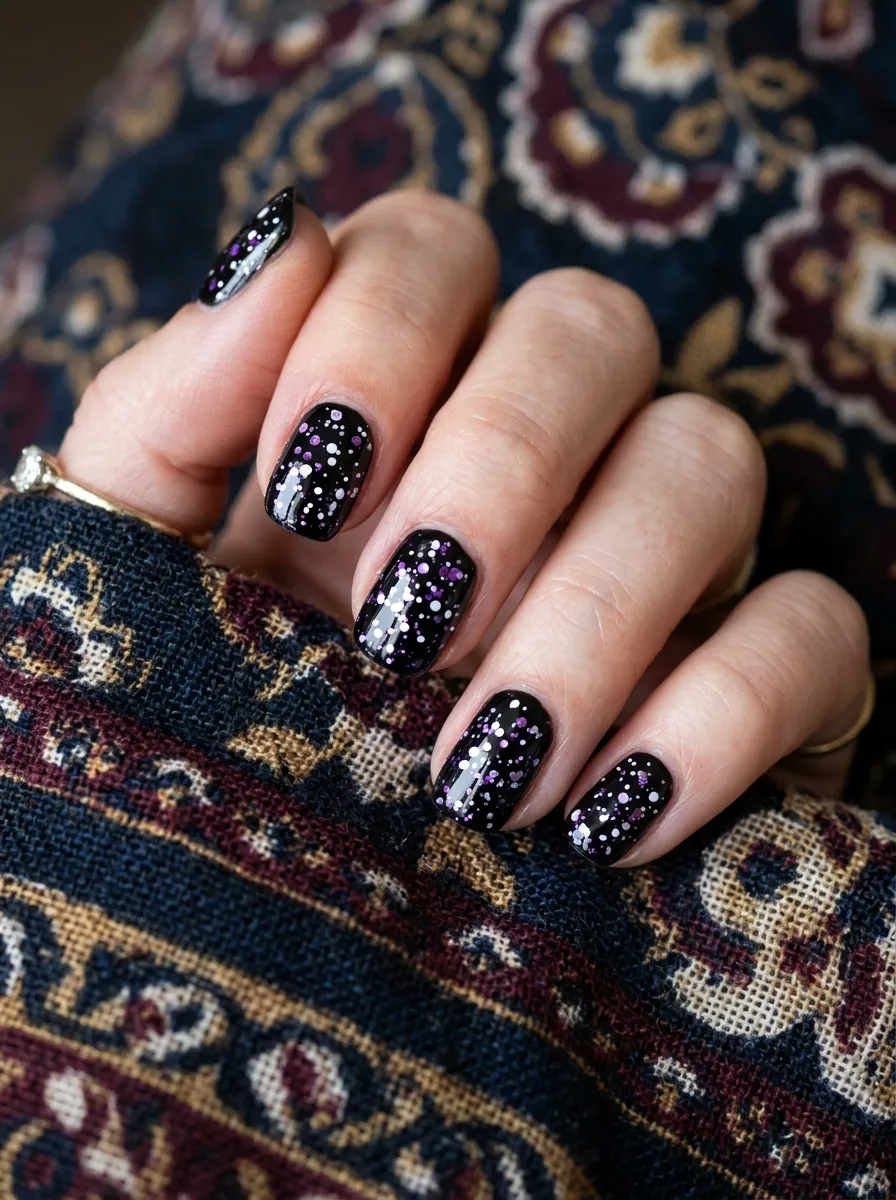
Confetti nails are playful and easy to customize. Paint a black base coat first. Once dry, dip a thin brush or toothpick into purple polish and dot small marks randomly across the nail. Repeat with white or silver polish for contrast. Keep the dots small and uneven so it looks natural rather than patterned. This technique forgives shaky hands since the randomness is part of the design. A dotting tool set costs very little and gives more control if you want consistent dot sizes. This style works well for birthdays or celebrations since it has a festive feel without needing stickers or decals.
12. Purple Velvet Matte Manicure
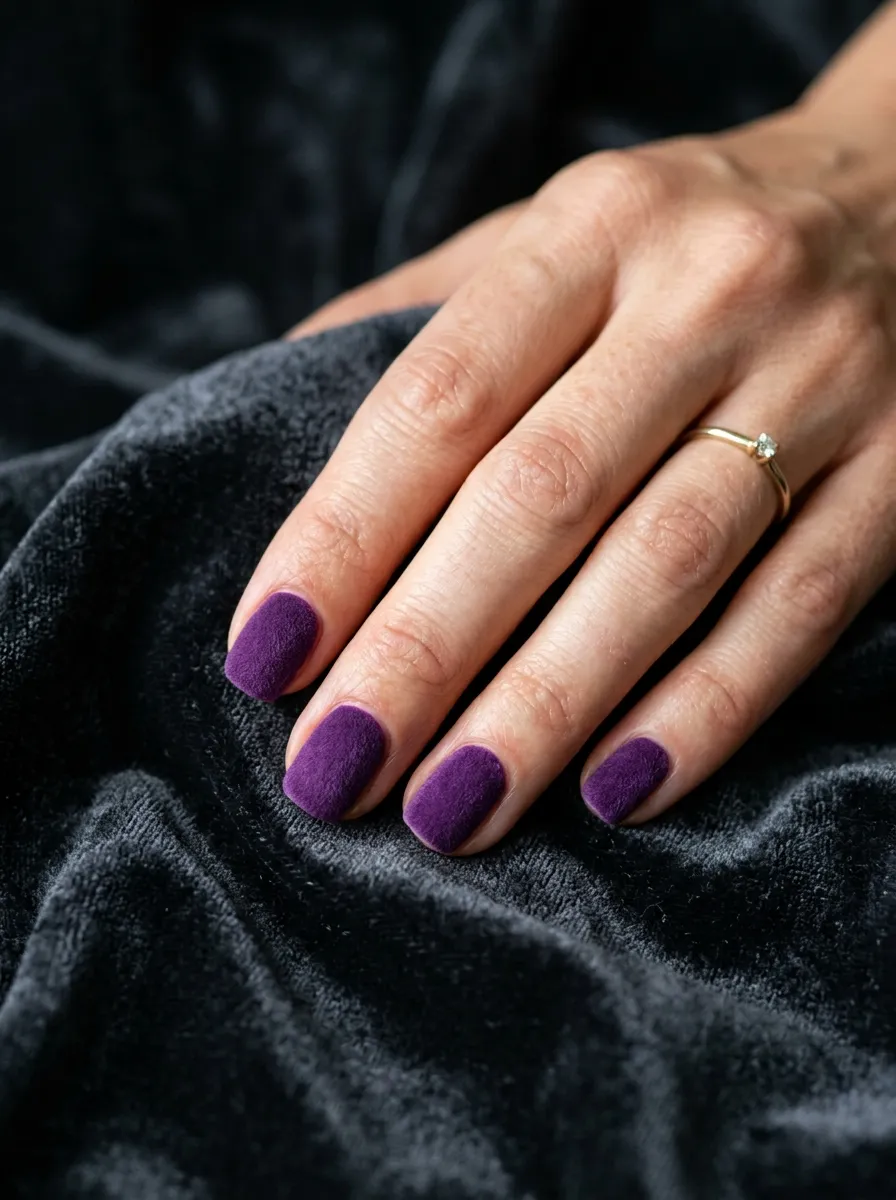
Matte polish changes how a color reads on the nail. A deep purple in matte finish looks soft and almost fabric like, similar to velvet. Apply two coats of purple polish, then finish with a matte topcoat instead of a glossy one. Matte topcoats are widely available and affordable, and one bottle lasts through many manicures. This look pairs beautifully with black accents on just one or two nails if you want variation without overcomplicating the design. Avoid touching the nail surface right after applying matte topcoat since fingerprints show easily until it fully sets. This style feels elegant and works for both casual days and dressier occasions.
13. Black Nails With Purple Rhinestone Accent
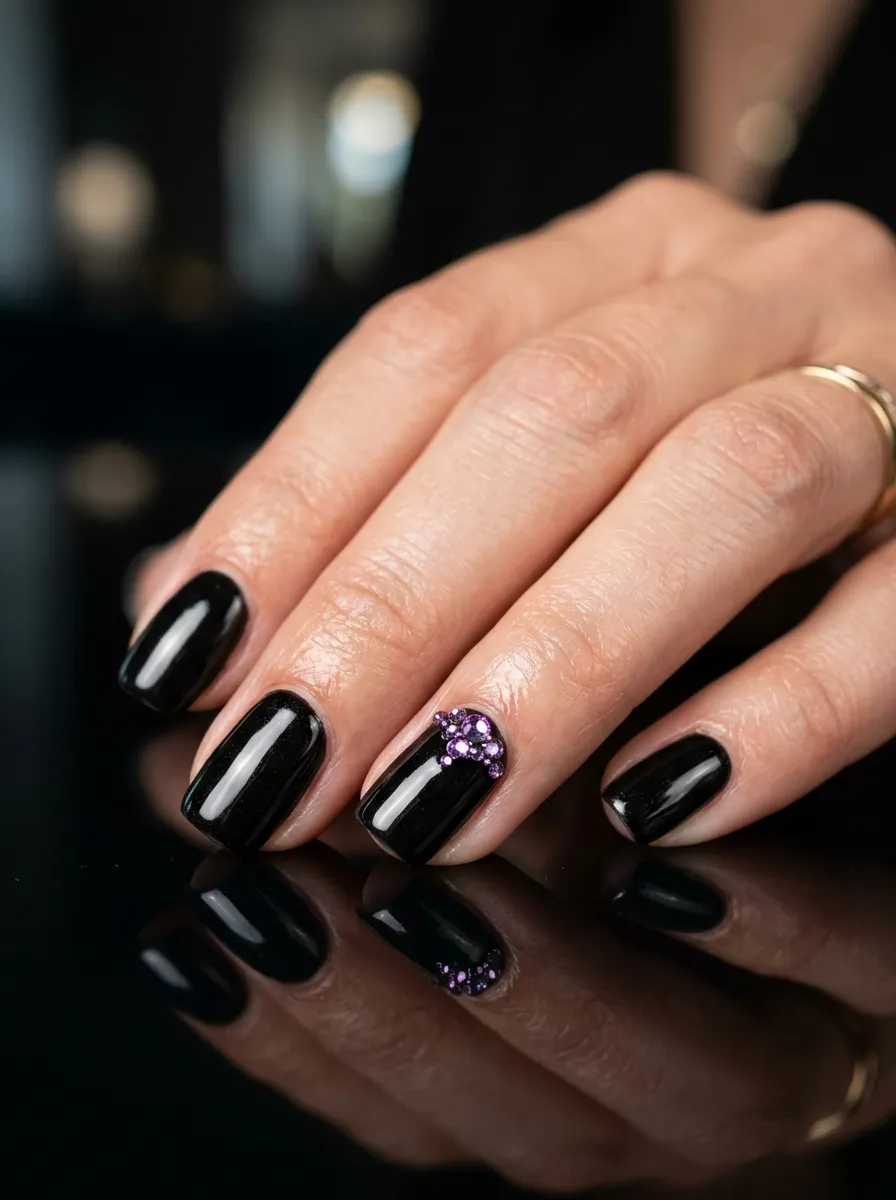
Rhinestones add sparkle to an otherwise simple manicure. Paint all nails black and let them dry completely. Pick one nail per hand as your accent. Using a dotting tool or tweezers, place a small dot of nail glue near the cuticle. Press two or three purple rhinestones into the glue while it’s still wet. Let everything set for a few minutes before adding a topcoat around the stones, avoiding direct contact with them so they don’t lose shine. Rhinestone packs are sold cheaply online and include hundreds of stones, more than enough for many manicures. This small addition makes a plain black manicure feel special for parties or events.
14. Purple and Black Vertical Split Nails
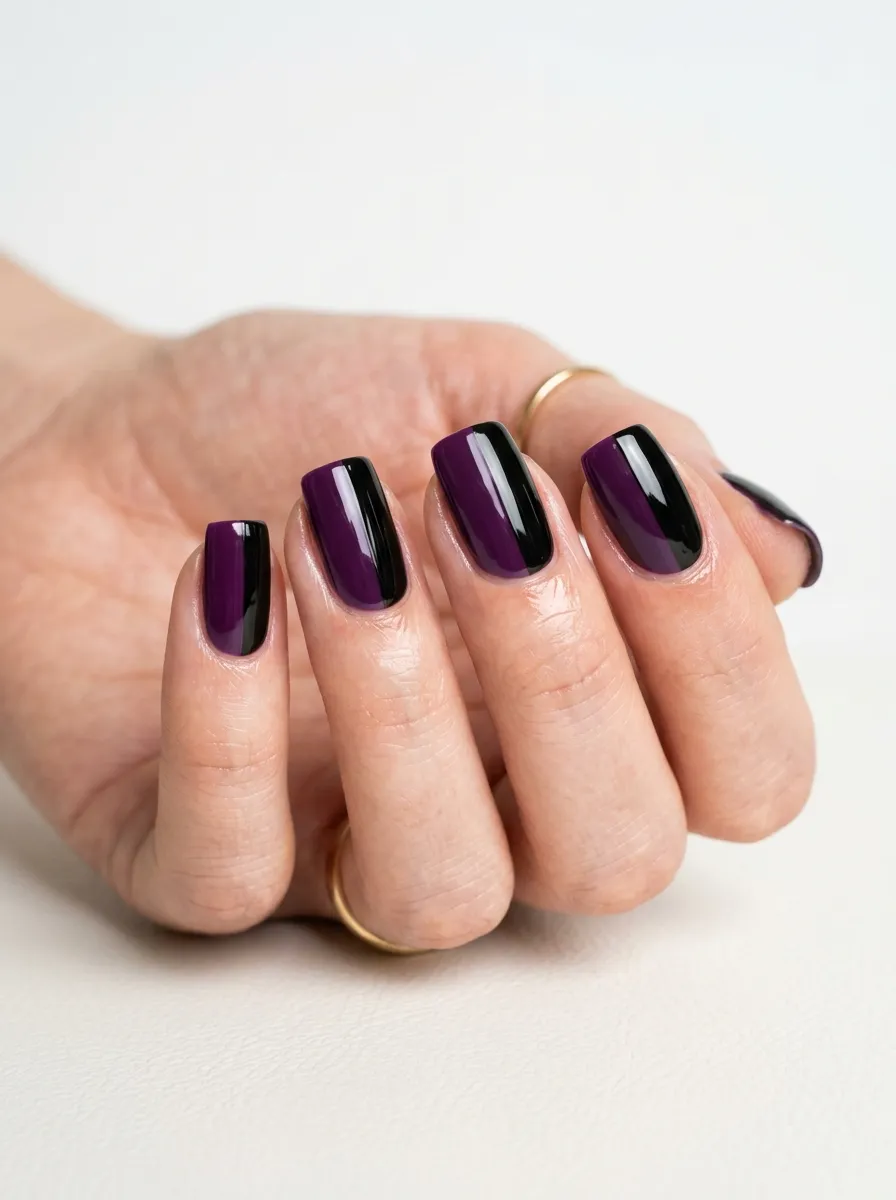
Splitting the nail into two colors creates a bold, graphic look. Use striping tape down the center of the nail to divide it evenly. Paint one side purple and let it dry, then remove the tape and reapply it to protect that finished side. Paint the other half black. This method keeps lines crisp and prevents smudging between colors. If you don’t have striping tape, painter’s tape cut into thin strips works as a substitute. This design suits short or medium nails best since longer nails can make the split look uneven. Finish with a glossy topcoat to blend the two textures into one smooth surface.
15. Purple Base With Black Lace Pattern
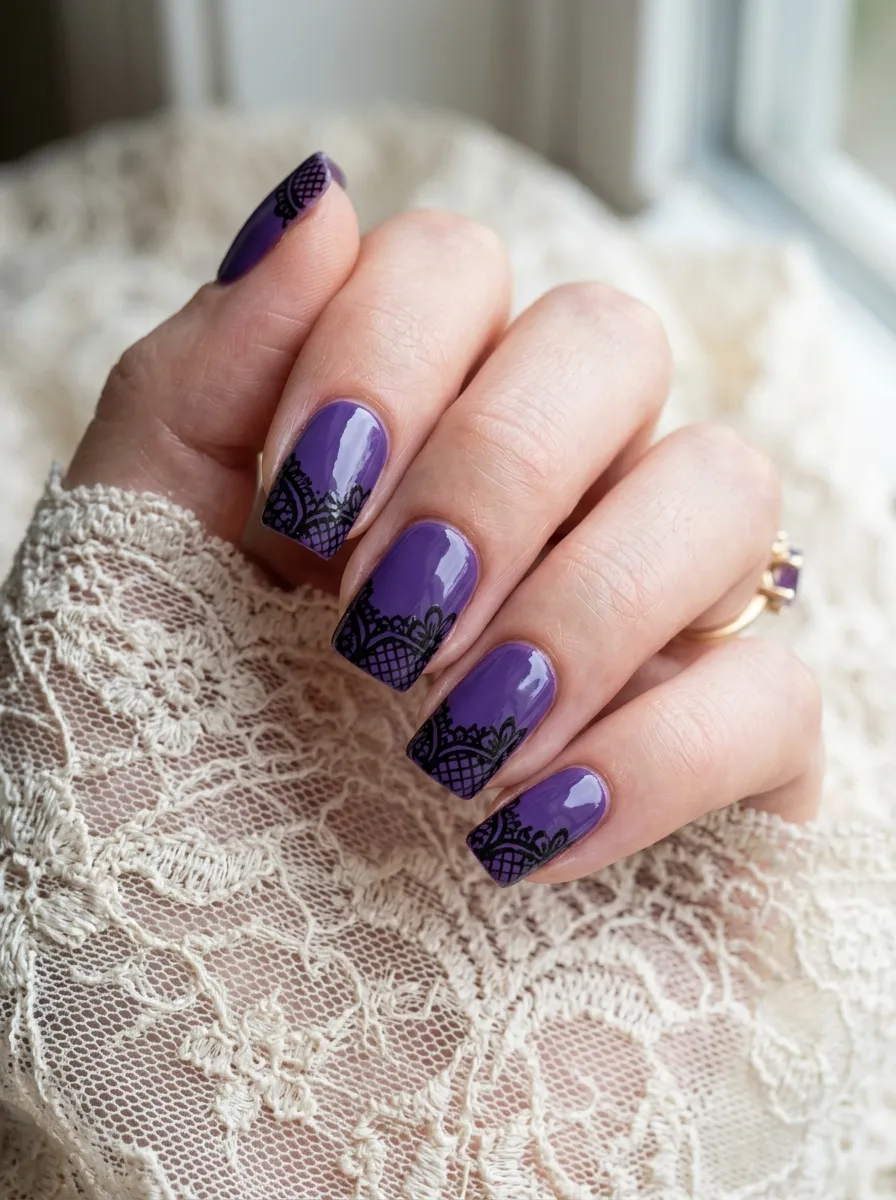
Lace patterns add a romantic, detailed touch. Start with a purple base coat on all nails. Once dry, use a thin nail art brush to paint small connected loops and dots in black near the tip of each nail, mimicking a lace trim. Keep the pattern light and open rather than filling in large areas. This works best with a steady hand, so resting your elbow on a table helps control small movements. A fine detail brush from a craft store costs little and works for many designs beyond this one. This look suits weddings, formal events, or anyone who wants an elegant twist on dark nail colors.
16. Black Nails With Purple Drip Effect
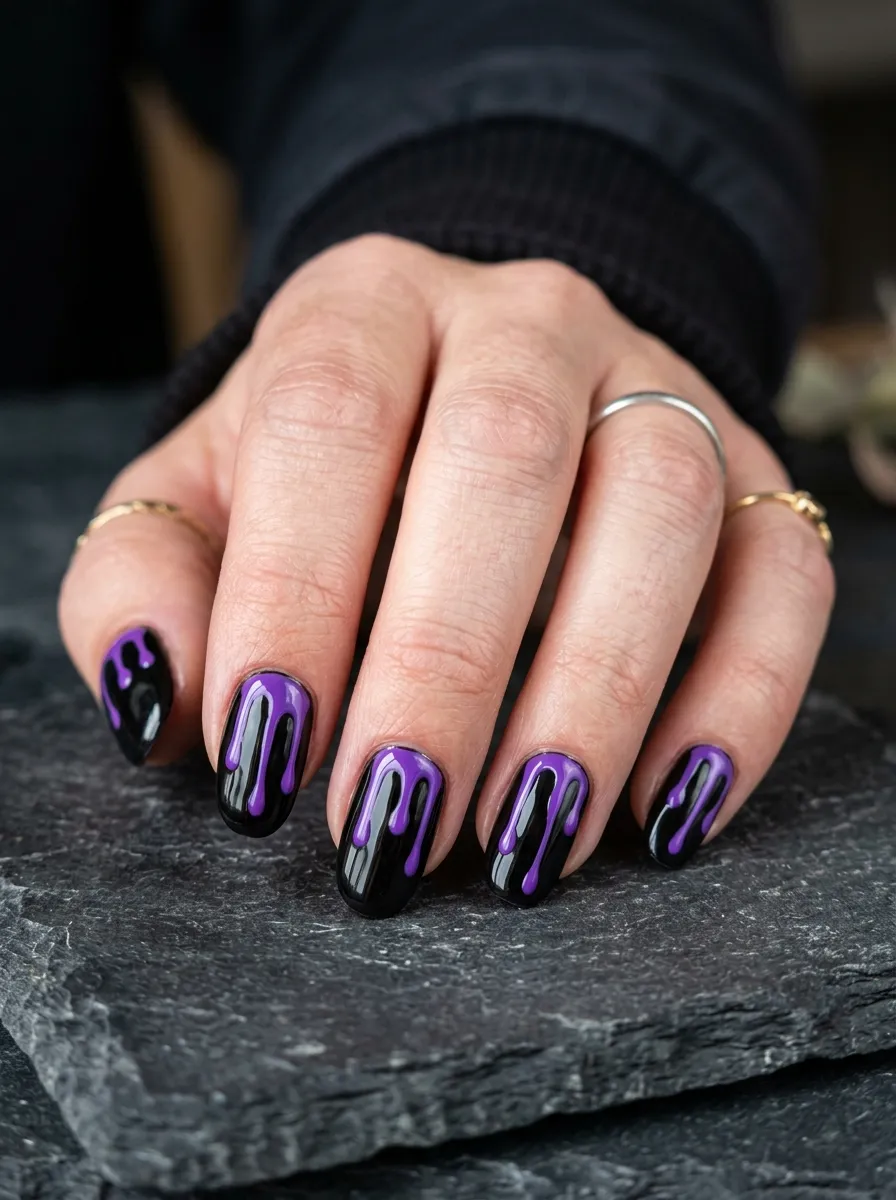
Drip nails mimic the look of paint running down a wall. Paint your nails black as the base and let them dry fully. Using a thin brush, paint small irregular lines of purple starting at the cuticle and dragging downward, varying the length of each drip. Keep some drips short and others longer for a natural, uneven look. This design works better with a slightly thinner polish consistency, so adding a drop of thinner to thick polish can help it flow more easily. A cheap detail brush gives the best control for this technique. Finish with a glossy topcoat once the drips are fully dry to avoid smearing the design.
17. Purple and Black Checkerboard Nails
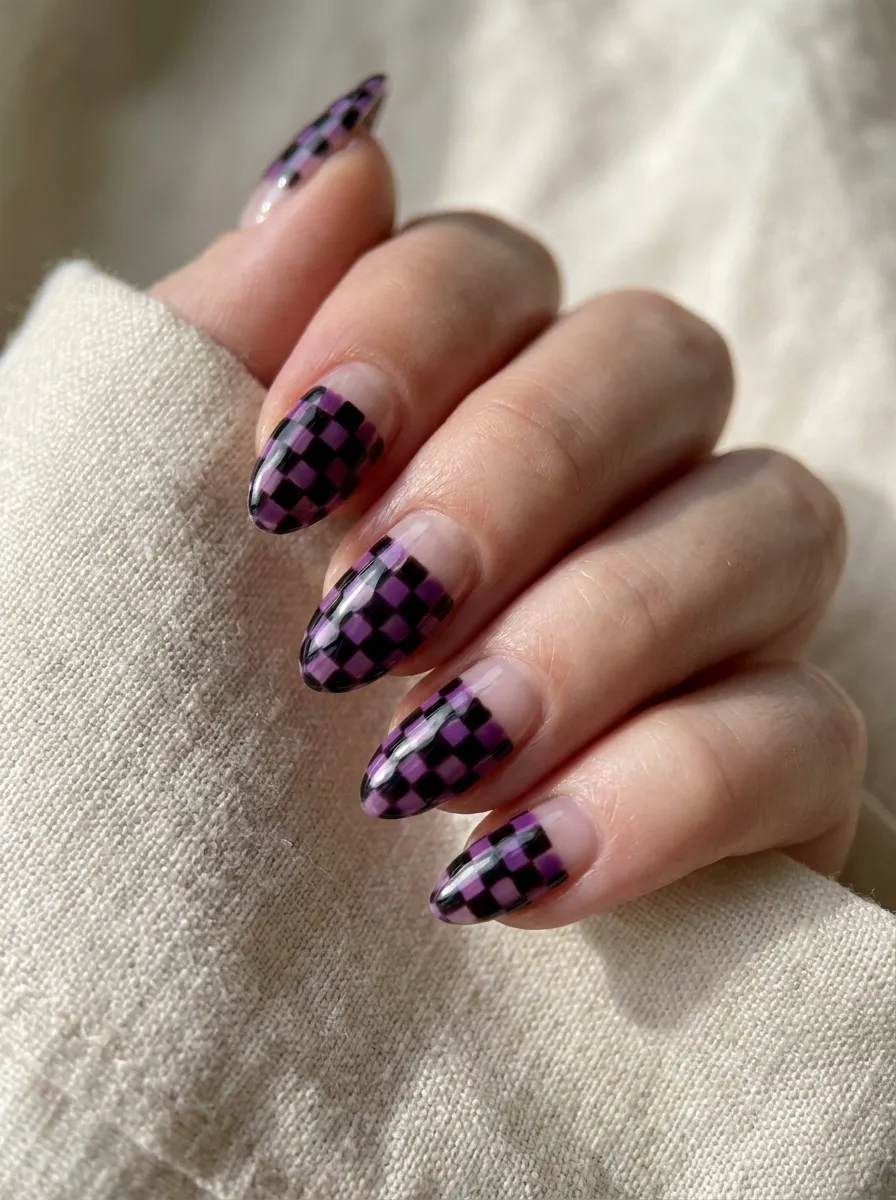
Checkerboard patterns look complex but are simple with the right tools. Paint a white or light purple base first. Once dry, use striping tape to create a grid near the tip of the nail. Fill alternating squares with black polish, then remove the tape once dry. Repeat with purple polish for the remaining squares if you want more color variation, or leave the base color showing through. This design works best on nails with a flat surface for easier taping. Striping tape kits are affordable and reusable across several manicures. Keep the checkerboard section small, near the tip only, to keep the design wearable for everyday use.
18. Deep Purple Almond Nails With Black Tip Line
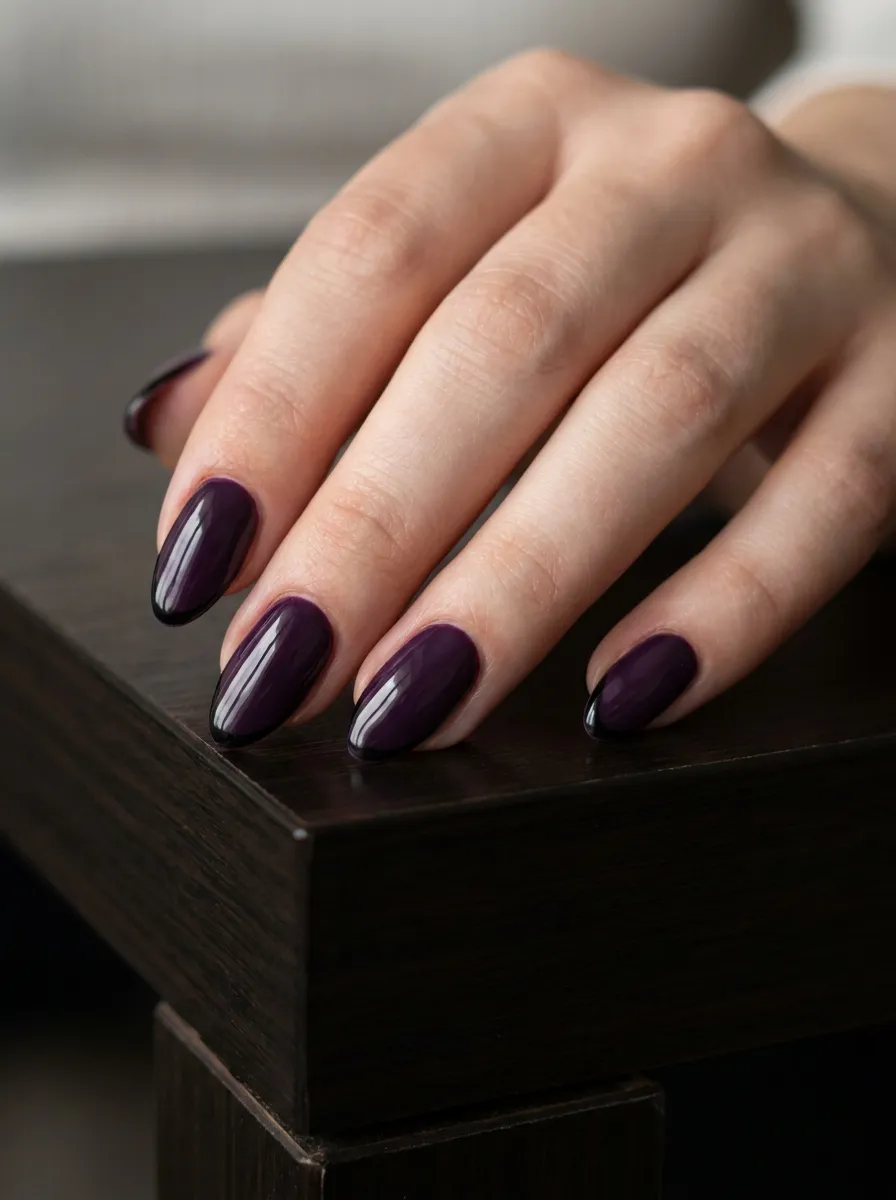
Nail shape changes how a design reads, and almond shaped nails give a soft, tapered look. Paint your nails deep purple as the main color. Once dry, use a thin brush to trace a fine black line along the very edge of the tip, following the natural curve of the almond shape. This outline effect looks detailed but only takes one extra step. If your nails aren’t naturally almond shaped, press-on nails in this shape are affordable and easy to apply at home. A fine liner brush works best for the thin line, and steadying your hand against a table helps keep it even across all ten nails.
19. Purple and Black Ombre With Glitter Line
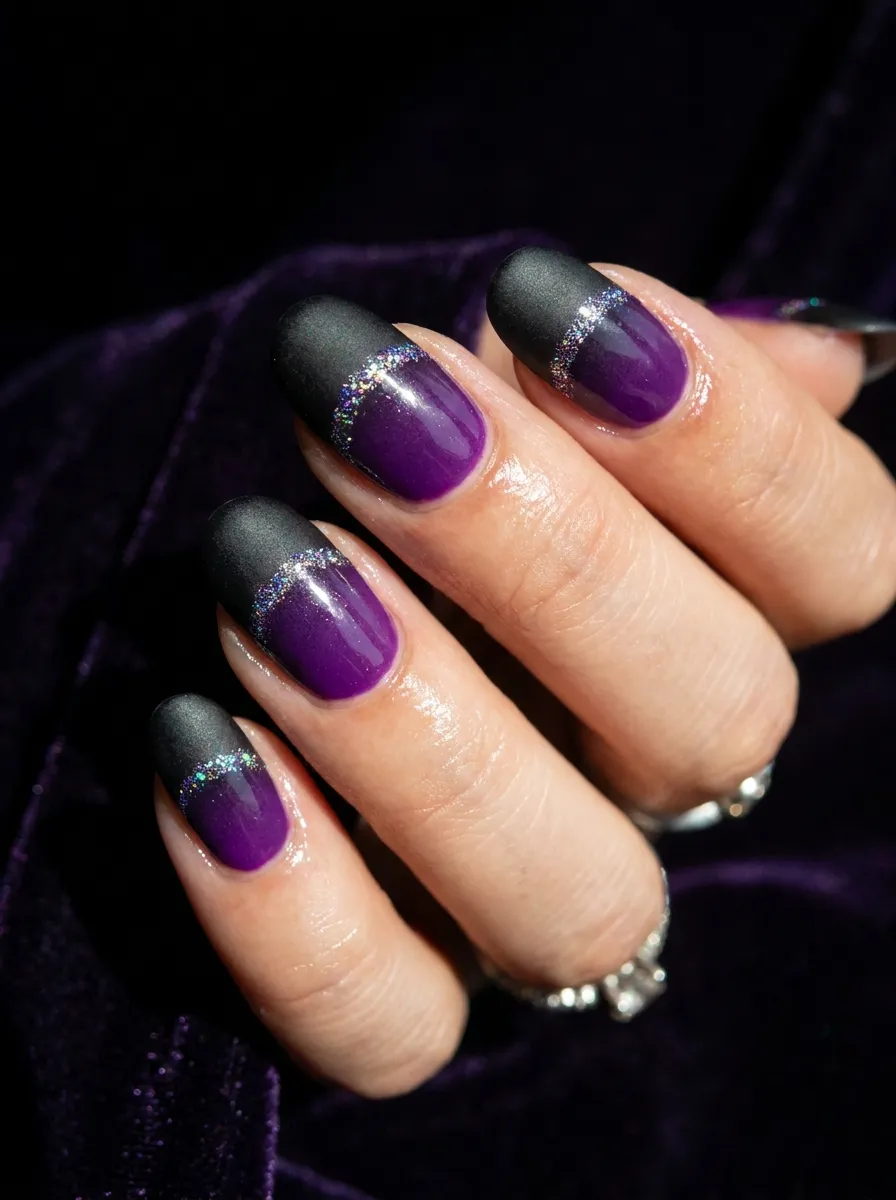
This design combines a smooth gradient with one sparkly detail line. Create a purple to black ombre using a makeup sponge, blending the two colors in the middle of the nail. Once dry, use a thin brush to paint a small line of glitter polish exactly where the two colors meet. This hides any uneven blending and adds sparkle at the same time. A fine glitter polish in silver or purple works well for this line. This technique turns a simple two-color fade into a design that looks more finished. Let each layer dry fully between steps to keep the glitter line crisp and prevent it from smudging into the ombre background.
20. Black Nails With Purple Cracked Effect
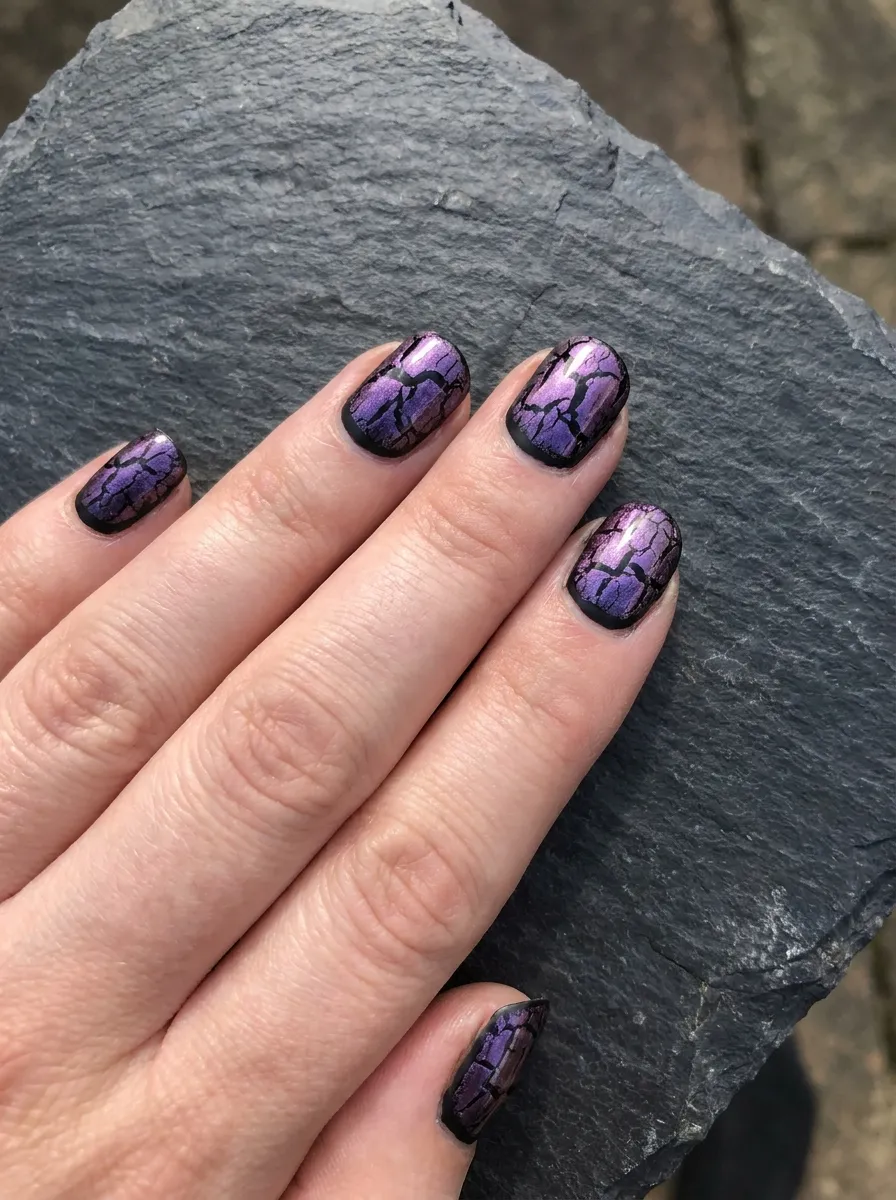
Crackle polish creates a textured pattern with almost no skill required. Paint your nails black and let them dry completely. Apply a thin coat of purple crackle polish on top. As it dries, the polish naturally splits apart, revealing the black base underneath in a web like pattern. The thinner the crackle layer, the finer the cracks will be. Crackle polish bottles are inexpensive and go a long way since a small amount covers several manicures. This design works well for anyone who wants a bold look without needing a steady hand or fine brushes. Seal with a glossy topcoat once the crackle has fully dried to smooth the texture slightly.
21. Purple and Black Two-Tone French Tip
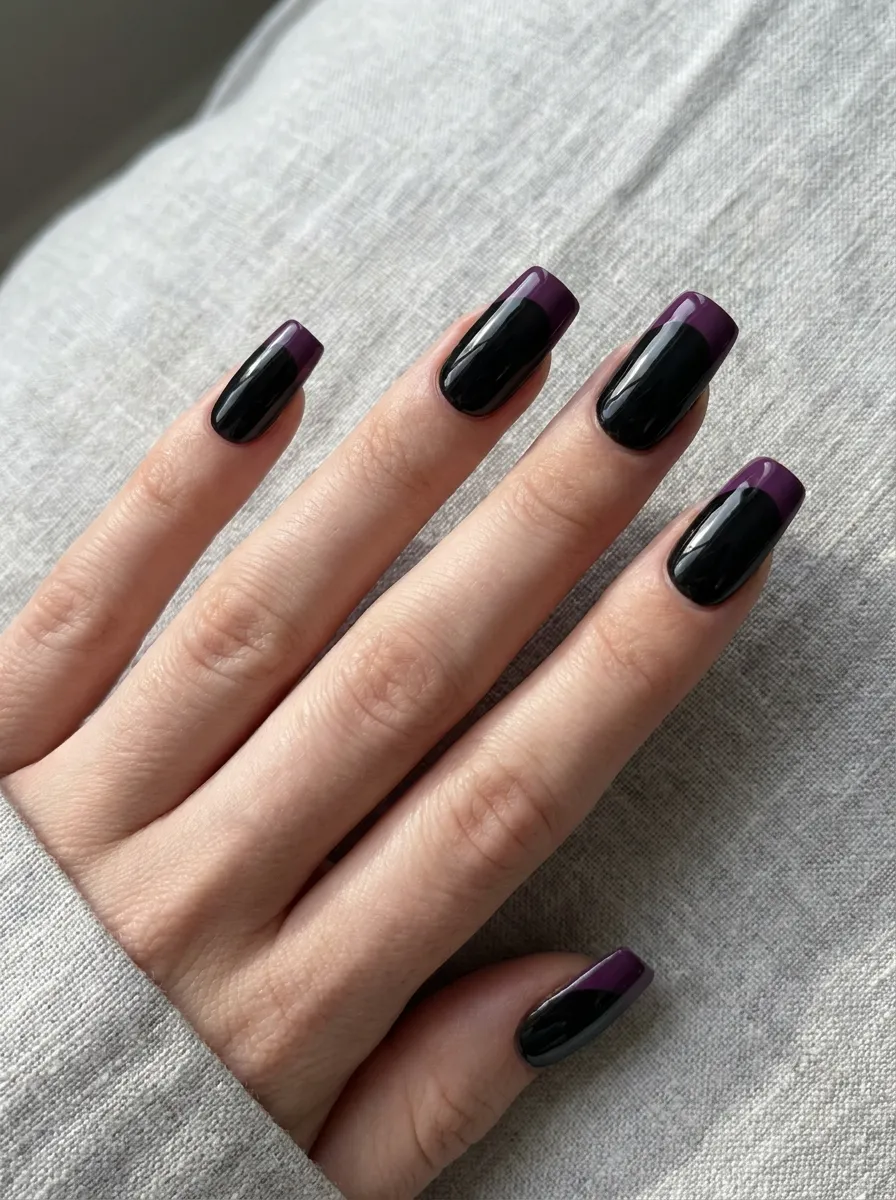
This reverses the usual French manicure colors for a darker take on a classic style. Paint your nails black as the base. Once dry, use striping tape or a French tip guide sticker to mark the tip line. Fill in the tip area with purple polish. Remove the tape once dry for a clean edge. French tip guide stickers are sold cheaply in packs and make this technique much easier for beginners than freehand painting. This design works for both short and long nails and looks polished for work or casual settings. Finish with a glossy topcoat to blend the two colors into one smooth surface.
22. Purple and Black Starburst Accent Nail
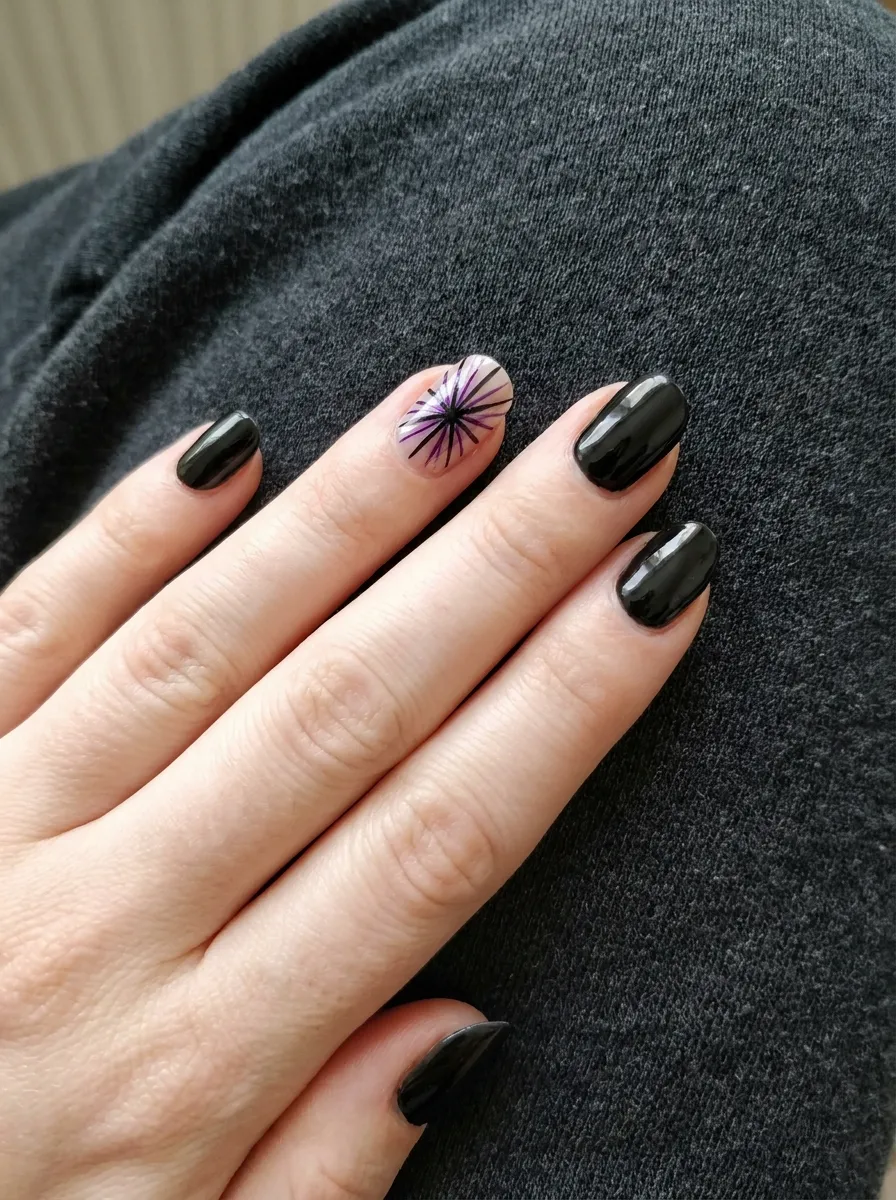
Save this design for one accent nail per hand to keep it wearable. Paint the accent nail a light base color, then use a thin brush to paint short lines radiating outward from the center point, alternating between purple and black. Keep the lines slightly uneven for a hand painted feel rather than a perfect geometric pattern. The rest of your nails stay solid black to let the accent stand out. A fine detail brush makes this pattern much easier to control, and practicing the radiating lines on paper first helps build confidence. This design adds a bold focal point without covering all ten nails in detailed work.
Conclusion
Purple and black nails offer endless ways to mix bold color with a bit of edge, whether you’re after a subtle gradient or a full glittery statement. Most of these looks only need polish, tape, and a steady hand, which makes them easy to try at home without a big budget. Start with one or two designs that match your skill level, then build up to the more detailed patterns as you get comfortable. Grab your polish collection, pick a favorite from this list, and give your nails a dark, glossy update this week.